The short answer
Construction on a typical kitchen runs six to ten weeks from demolition to final walkthrough, and the sequence is fixed rather than flexible: protection and demolition, then rough-in for plumbing and electrical, then inspection, then drywall and paint, then flooring, then cabinets, then the countertop template, then fabrication, then backsplash, appliances and trim, then the punch list.
Three points in that sequence cannot be compressed by adding people. A rough-in inspection has to be scheduled and passed before anything is closed up. Cabinets cannot be installed before they arrive. And countertops cannot be templated until the cabinets are set and level, which builds in a fabrication gap of one to two weeks near the end.
In most Central Florida jurisdictions, replacing cabinets and countertops in the same positions is not permitted work, while electrical, plumbing, gas and structural changes are. The permit itself rarely delays a project. Forgetting to have it closed out with a final inspection is what surfaces years later, when the house is sold.
Key takeaways
- Six to ten weeks of construction is normal. The stages are sequential, so adding labour speeds up individual stages and not the calendar.
- The rough-in inspection is the schedule's first hard stop: nothing gets covered until it passes, and the appointment is booked with the building department, not with your contractor.
- Countertops are templated after the cabinets are installed, never before. That fabrication gap is structural and cannot be removed by ordering earlier.
- Demolition is not the start of the job. Protection, containment, utility disconnection and a working temporary kitchen come first, and skipping them costs more than they save.
- A permit that is never closed out with a final inspection becomes a problem at resale, at refinancing and sometimes at the insurance renewal.
- The most common delay is not a trade running late. It is a decision that was still open when the schedule reached the day it was needed.
The Step-by-Step Kitchen Remodeling Process
A kitchen remodel looks like a set of parallel jobs and behaves like a chain. Almost every stage is physically waiting on the one before it, which is why a kitchen that is running two weeks late cannot be brought back by adding people to it.
Understanding what each stage is waiting for is the difference between watching a schedule and being able to read it.
The construction sequence and what each stage depends on
| Stage | Cannot start until | Blocks |
|---|---|---|
| Protection and containment | Temporary kitchen is working | Demolition |
| Demolition and disposal | Utilities are disconnected | Everything |
| Plumbing and electrical rough-in | Layout is final and marked | Drywall |
| Rough-in inspection | Rough-in work is complete | Closing any wall |
| Drywall, texture and paint | Inspection has passed | Flooring |
| Flooring | Walls and ceiling are finished | Cabinets |
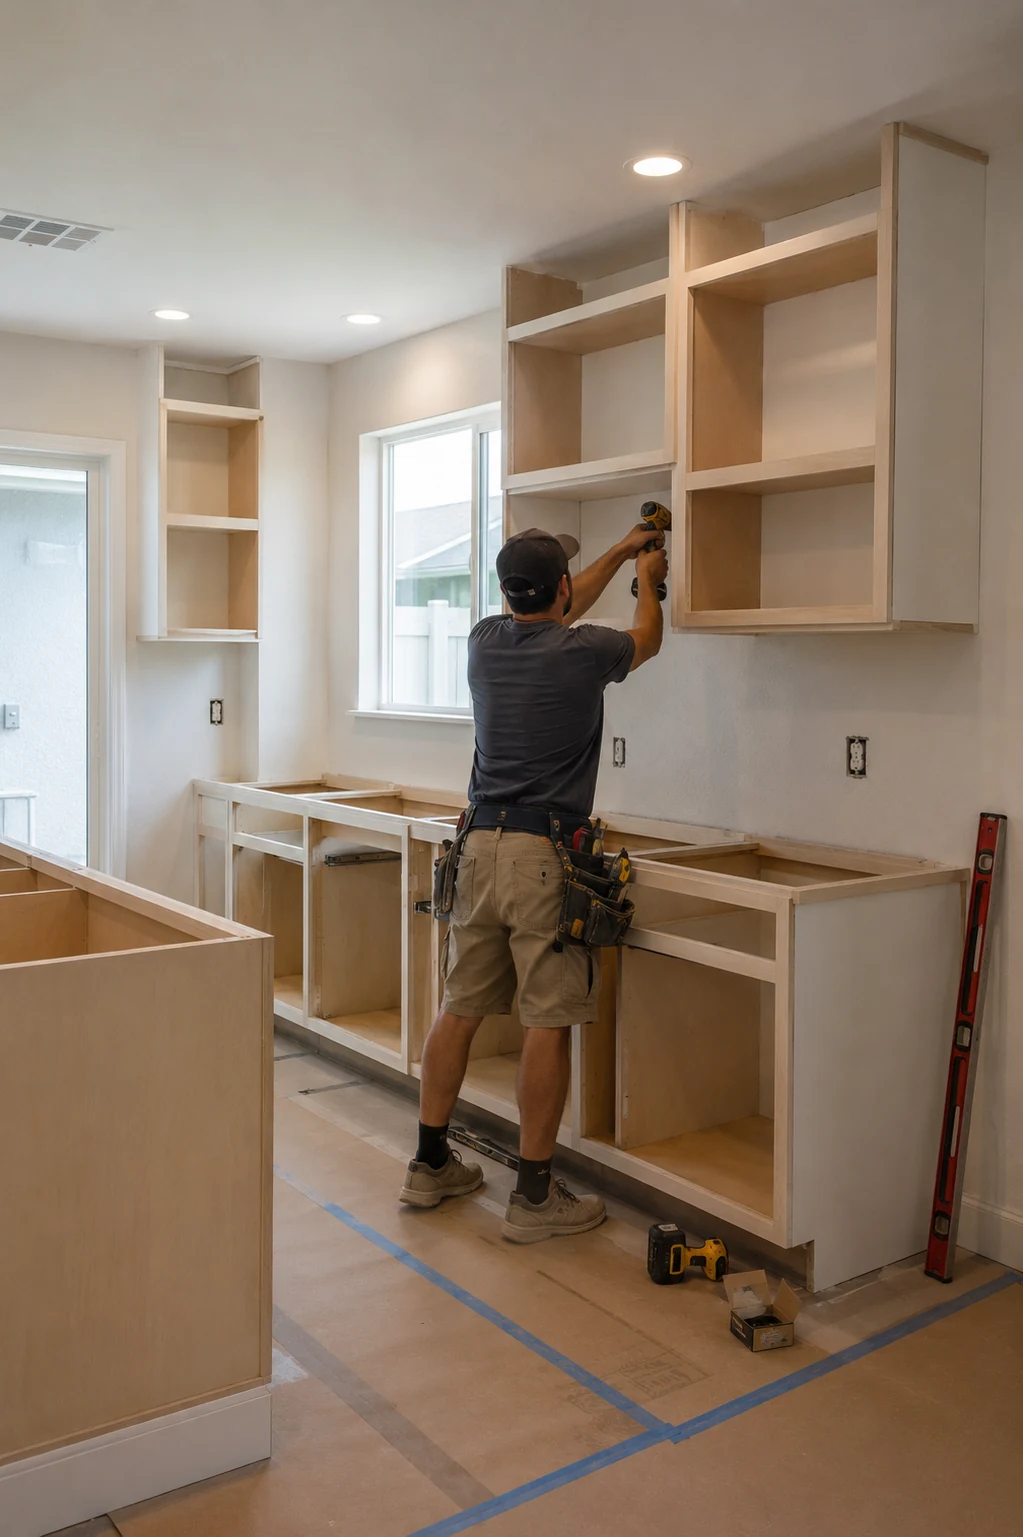
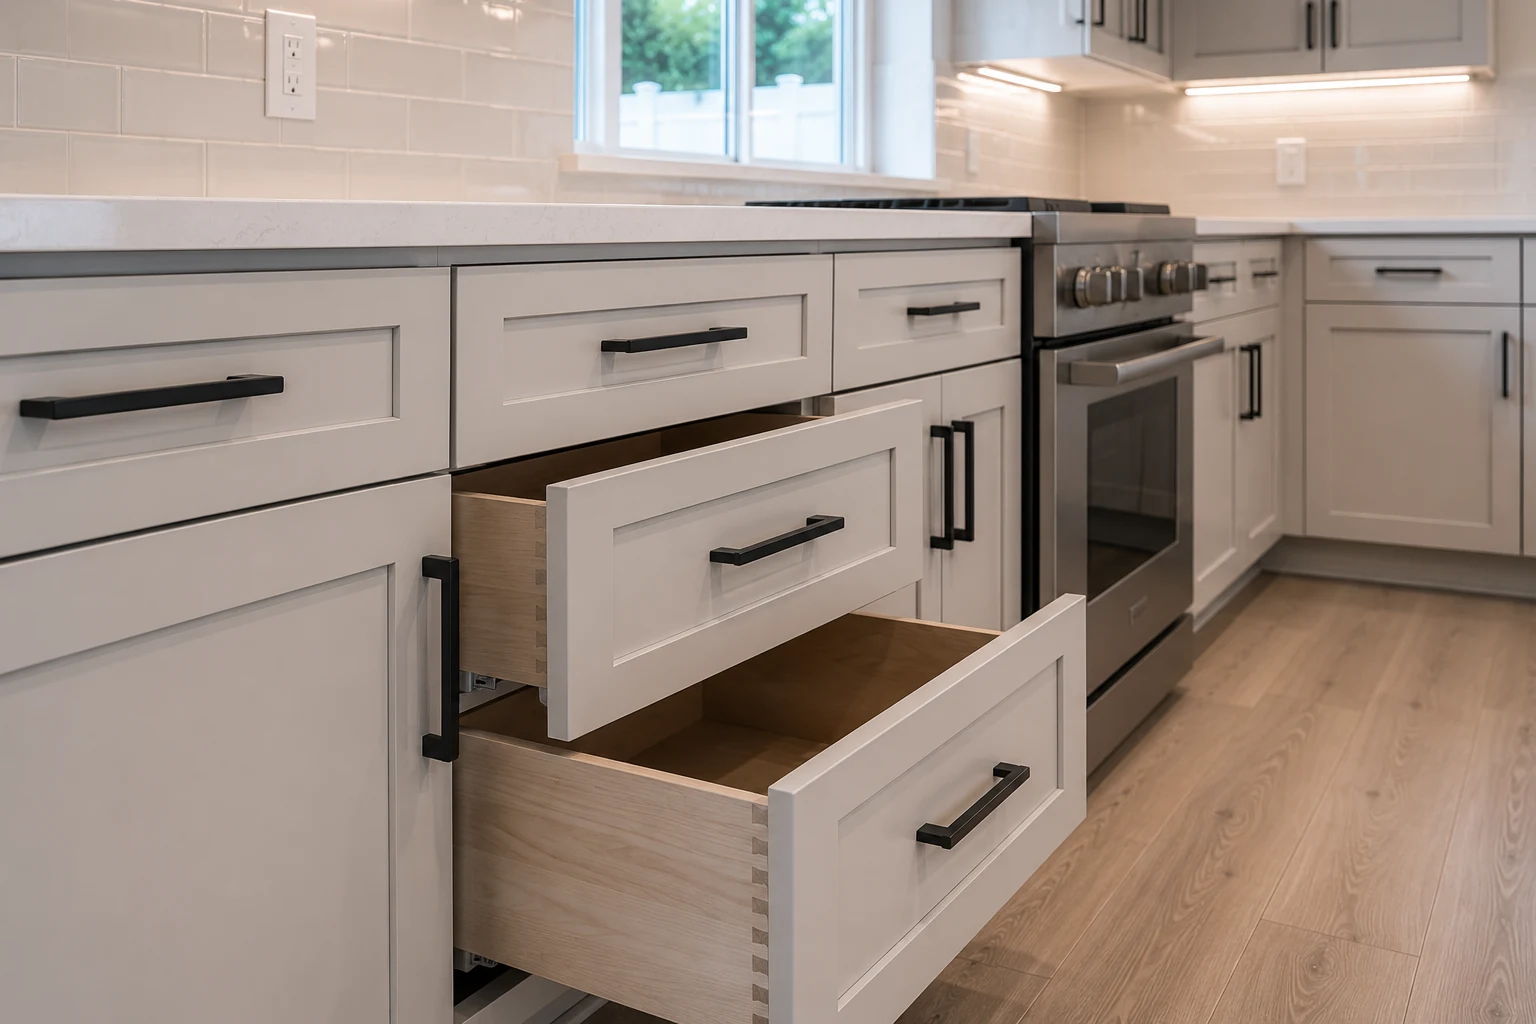
| Cabinet installation | Cabinets have been delivered | Countertop template |
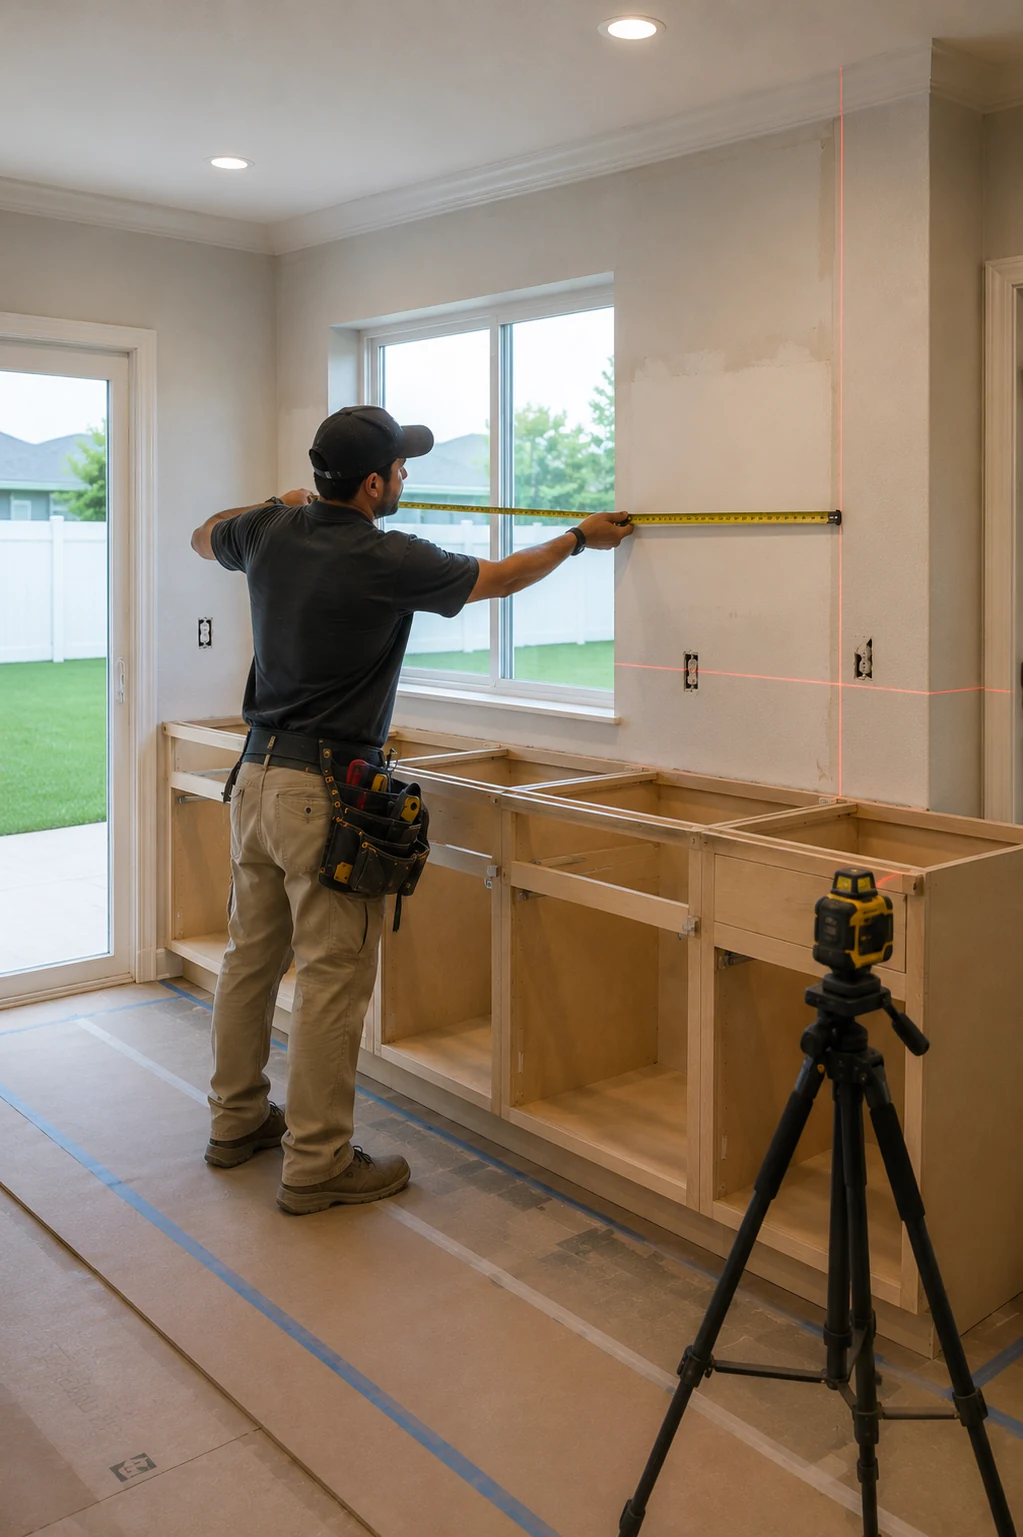
| Countertop template | Cabinets are set and level | Fabrication |
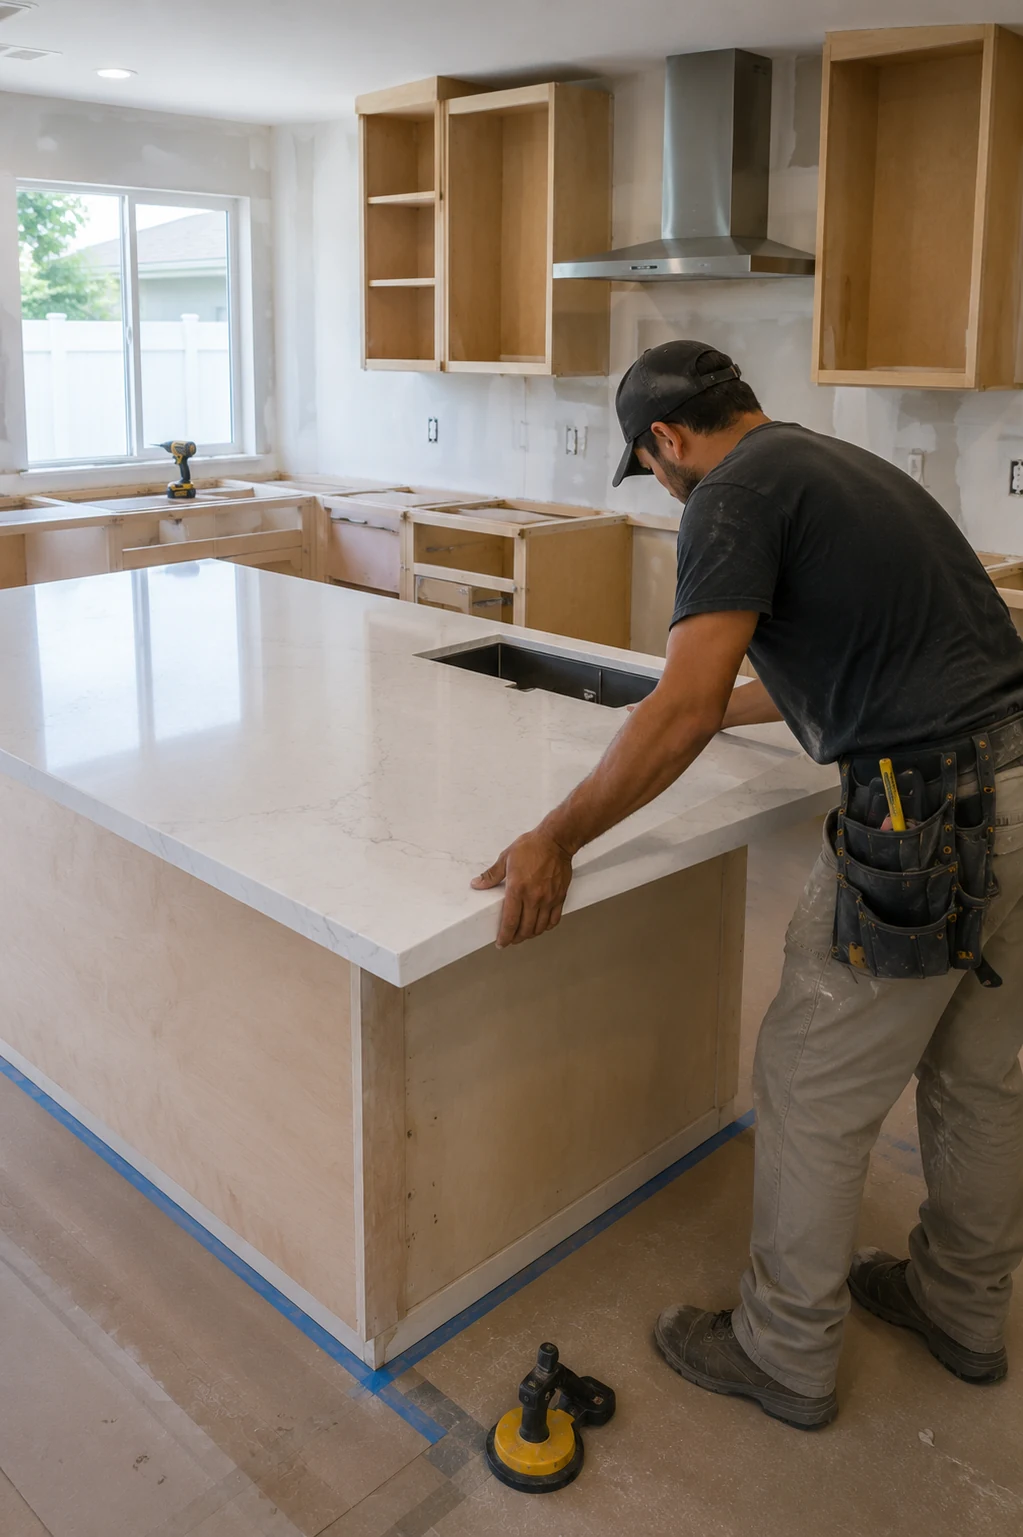
| Countertop installation | Fabrication is complete | Backsplash, sink, plumbing trim |
| Backsplash, appliances, trim | Counters are in | Punch list |
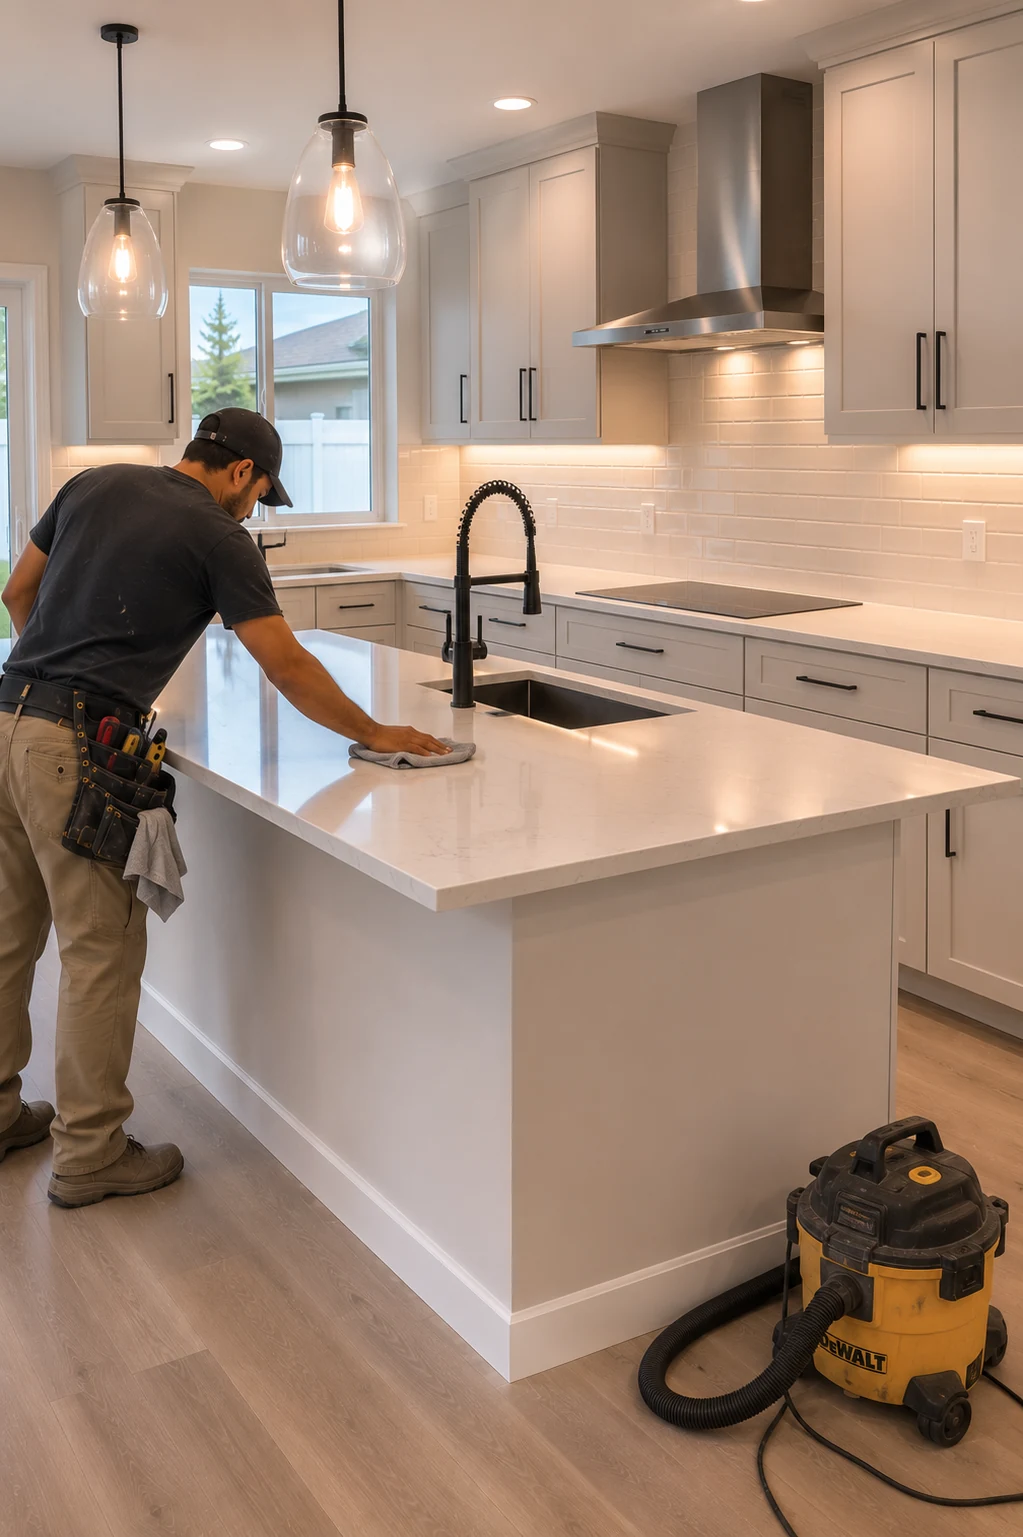
| Punch list and walkthrough | Everything else is done | Final payment |
The pattern to read in that table is the middle column. Not one of those dependencies is a matter of preference or crew size, which is why the honest answer to how long a kitchen takes is six to ten weeks of construction for most projects, with the range driven by scope rather than by effort.
The three hard stops
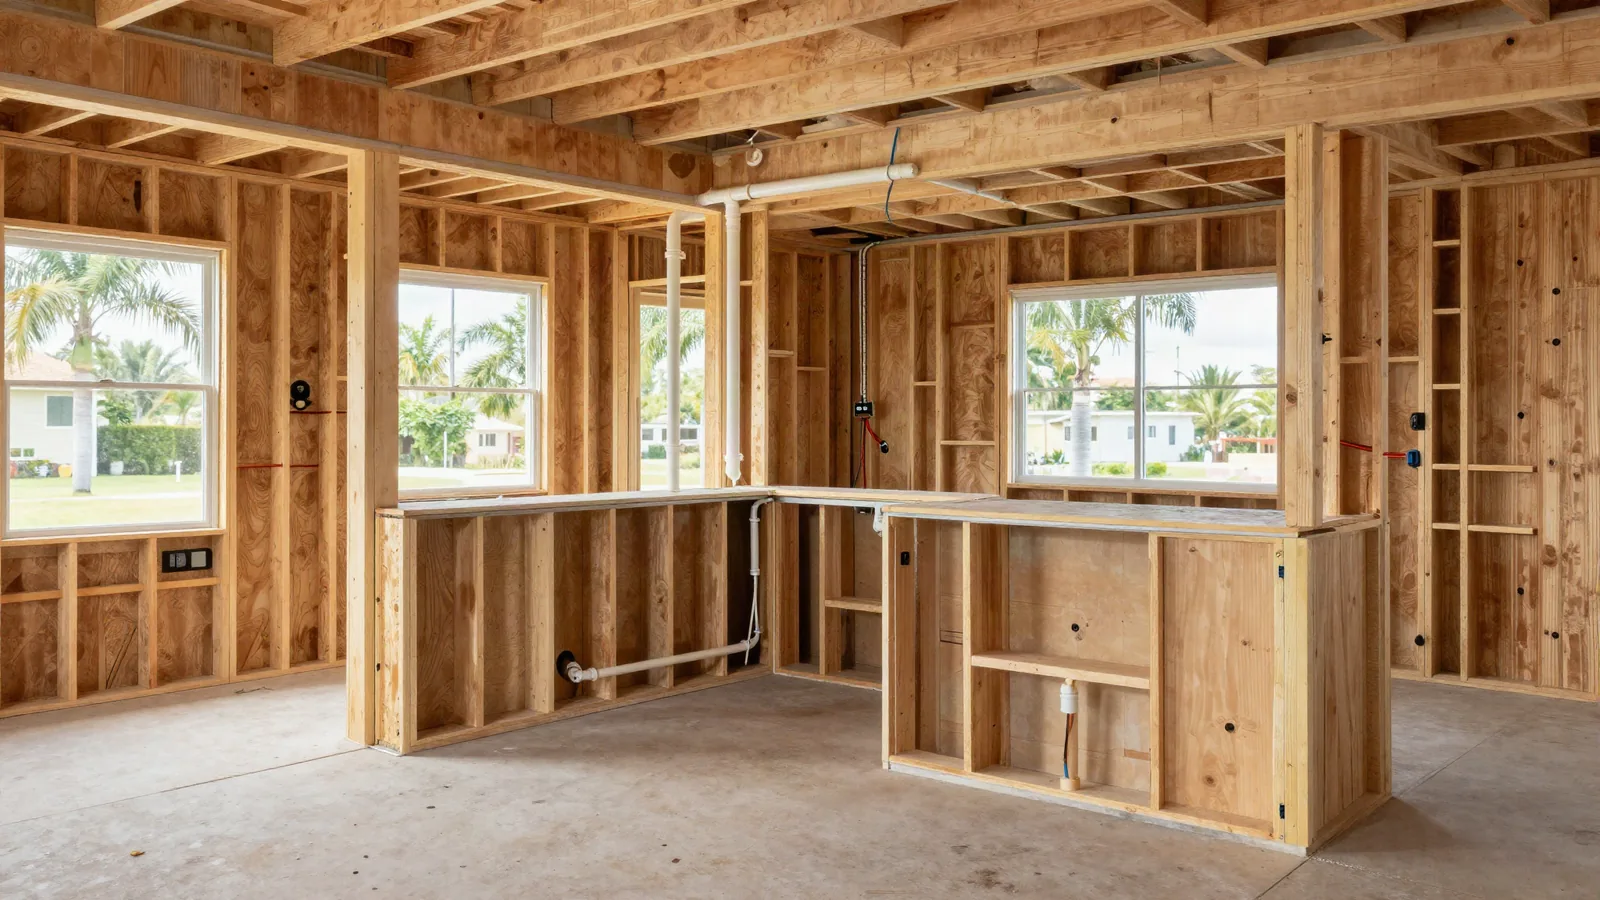
The rough-in inspection. Once plumbing and electrical are in the walls, the building department has to see them before anything covers them. That appointment is scheduled with the municipality, not with your contractor, and its timing is outside the project’s control.
Cabinet delivery. Installation cannot begin before the boxes are on site, which is why the cabinet order is the single most schedule-critical decision in a kitchen and why it is made months before anyone picks up a tool.
The countertop template. Stone and quartz are cut to the room as built, not to the drawing, so the template is taken after the cabinets are installed and levelled. Fabrication then takes one to two weeks. That gap is structural, it cannot be removed by ordering earlier, and it is the period when the kitchen has cabinets and no work surface.
Where to Start Remodeling a Kitchen
The instinctive answer is demolition. It is the wrong one, and starting there is the most common reason a project feels chaotic in its first fortnight.
The first physical step is not demolition
Four things happen before anything is removed, and each of them is cheaper now than the problem it prevents.
The temporary kitchen goes in first and it goes in fully — refrigerator, microwave, kettle, a table and a bin, somewhere outside the work zone with power. Setting it up on demolition day, while the house is full of dust and crew, is a bad afternoon that could have been a calm one. Keeping a household running around the work for weeks is its own subject, covered in living in the house during a remodel.
Containment goes up next: plastic across the openings, floor protection along the route the crew walks, and the HVAC returns in the work zone closed so the system does not distribute demolition dust through the whole house.
Utilities are disconnected properly — water shut off and capped, circuits identified and isolated at the panel, gas disconnected by whoever is licensed to do it.
Finally, everything that is being kept leaves the room. Appliances that will be reused, the light fitting somebody likes, the hardware being reused on the new doors.
Demolition day and what it reveals
Demolition itself is fast — two to four days for most kitchens including disposal. Its real function is informational: it is the first moment anyone can see what the house is actually made of.
This is when the unknowns become known. Undersized or aluminium wiring. A vent stack sitting exactly where the new sink was drawn. A subfloor that needs levelling. A slow leak behind the dishwasher that has been working on the cabinet base for two years. In houses built before the 1990s across Ocoee and the older parts of the region, at least one of those turns up often enough that a schedule with no float in it is a schedule that will slip.
The right response is a decision within twenty-four hours, because everything behind demolition is waiting. This is what the contingency exists for, and it is why the money question and the calendar question are the same question — a point developed in our guide to what a kitchen remodel actually costs in Florida.
If the selections are not finished, the project has not started
There is one honest test of whether a kitchen is ready to begin. Can you produce, today, the cabinet order confirmation, the appliance model numbers, the countertop material and edge, the tile, the paint colours and the location of every outlet and light?
If not, the project is still in design, and starting demolition will not change that. It will simply move the waiting from a comfortable house to a house with no kitchen.
Does a Kitchen Remodel Require a Permit in Florida?
The answer depends mostly on what is being changed rather than on how much is being spent, and the distinction is consistent across most Central Florida jurisdictions.
What normally triggers a permit
Replacing cabinets and countertops in the same positions, painting, and swapping a light fitting or a faucet for another in the same location are normally treated as maintenance. Since July 1, 2026, Florida law has also required local governments to exempt most other work under $7,500 on a single-family home, on request, but that exemption never covers electrical, plumbing, gas, mechanical or structural work.
That is why most kitchens that move anything at all still fall on the permitted side of the line: new or relocated circuits, a panel change, moved supply or waste lines, gas work, altered ventilation, a removed or altered wall, and a changed window or door opening. Administration is local, so a project inside a city boundary can follow a different process from one a few streets away in unincorporated county. How that plays out for a kitchen, jurisdiction by jurisdiction, is set out in which kitchen work needs a permit in Central Florida.
What the inspections actually check
A permitted kitchen normally involves a rough-in inspection, when wiring and pipework are installed but before anything covers them, and a final inspection when the kitchen is finished. The first checks circuit sizing and protection, boxes and connectors, drain slopes and venting; the second confirms that what was built matches what was permitted and that the safety items work.
How the permit shapes the calendar
Review typically adds one to four weeks before work starts, and it usually runs in parallel with cabinet fabrication rather than adding to the total. What is not parallel is inspection scheduling: rough-in has to be requested, waited for and passed, and that pause sits in the middle of the project rather than at the beginning.
Community approval is a separate track again. In master-planned neighbourhoods such as those around Lake Nona, an architectural review committee may need to approve anything visible from outside, along with rules on working hours, dumpster placement and contractor parking. It rarely changes the construction schedule. It regularly changes the start date.
Your Essential Kitchen Remodeling Checklist
Three short lists, positioned at the three moments where a kitchen most often goes off course.
Before demolition
- Every selection confirmed in writing, including hardware, tile and paint
- Cabinet delivery date confirmed, with a named contact
- Appliance model numbers matched against the cabinet drawing
- Permit applied for, and association approval submitted if required
- Temporary kitchen set up and tested
- Cabinets and drawers emptied completely
- Working hours, crew access door, dumpster position and containment agreed
- Pets and children given a route that avoids the work zone
- Photographs taken of the existing kitchen before anything is removed
During construction
- Walk the rough-in before the inspection and physically check outlet, switch and light positions against the plan
- Confirm the appliance openings before the cabinets are installed, not after
- Be available on template day, since the fabricator will ask about overhangs, seams and the sink position
- Put every change in writing, priced, before it is carried out
- Keep the running list of small items rather than raising them one at a time
- Check the flooring transition at each doorway while the trim is still off
Before final payment
- Every appliance run through one full cycle, including the dishwasher and the disposal
- Every drawer and door opened, closed and adjusted
- Cabinet interiors, toe kicks and the inside of the sink base checked for damage
- Water tested at every fixture, and the cabinet under the sink checked again the next day
- Grout and sealant complete at every edge, especially behind the faucet
- Final inspection passed and the permit closed out in writing
- Touch-up paint, spare tile and leftover flooring labelled and stored
- Warranty documents, manuals and lien releases collected
That last group matters more than it looks. The spare tile and the leftover flooring are what make a repair possible in four years when the product has been discontinued, and they cost nothing to keep.
One final note on sequence, because it is the most useful thing to take from a schedule: the kitchen is finished before the house is. Adjacent rooms that need interior painting, the small repairs that surfaced during the work, and the door that never closed properly are all easier to handle while access and protection are still in place — and far more annoying to arrange once the house is back to normal.
Share this article