The short answer
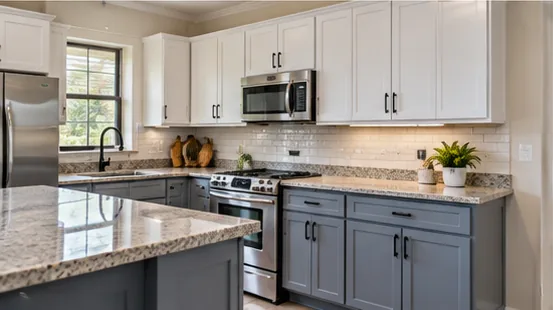
Painting makes sense when cabinet boxes and doors are solid wood or MDF in good condition, the layout works and the goal is a new color. A durable result depends on thorough degreasing, deglossing or sanding, a bonding primer, and a hard cabinet enamel, ideally sprayed, then time: many cabinet enamels are dry to the touch in hours but take weeks to reach full hardness.
Painting does not fix swollen particleboard, water damage, peeling thermofoil, worn hinges or a layout that does not work. Where those problems exist, refacing or replacing cabinets is usually the better investment. Angi's 2026 national data puts professional cabinet painting at roughly $2,000 to $6,500 for a typical kitchen.
Key takeaways
- Kitchen grease is the enemy of adhesion. Degreasing comes before sanding, so residue is not ground into the surface.
- A bonding primer rated for glossy surfaces is what makes paint stick to previously finished cabinets.
- Dry is not cured. One widely used cabinet enamel lists up to 30 days to reach full hardness.
- Humidity slows drying and curing. Florida kitchens need patience before doors are rehung and used hard.
- Thermofoil and some laminates are poor candidates for paint, and peeling thermofoil cannot be painted over.
When Painting Cabinets Makes Sense
Cabinet painting changes the color of existing cabinets without changing the cabinets themselves. It makes the most sense when:
- The boxes are sound: no swelling, water damage or broken joints, particularly under the sink.
- The doors are solid wood or MDF, with a surface paint can bond to.
- The layout works: the owner is happy with where cabinets are and how many there are.
- The problem is appearance: dated wood tones, worn finish or a color that no longer suits the kitchen.
In those conditions, a properly painted kitchen can look very different at a fraction of the cost of new cabinets. It is also common for bathroom vanities, laundry cabinets and built-ins.
Where cabinets are structurally worn, the layout needs to change, or the material cannot hold paint, the conversation moves to refacing or replacement. Those options are explained in the guide to kitchen cabinet materials, refacing and replacement, which looks at what each approach changes and when the boxes are worth keeping.
For the cost, schedule and limits of those two paths side by side, see refacing compared with full cabinet replacement.
Degreasing and Deglossing: The Real Prep
The difference between a cabinet finish that lasts and one that peels is almost entirely preparation. Kitchen cabinets carry cooking grease, hand oils and cleaning product residue, especially around handles and near the range. Paint does not bond to grease.
A typical preparation sequence:
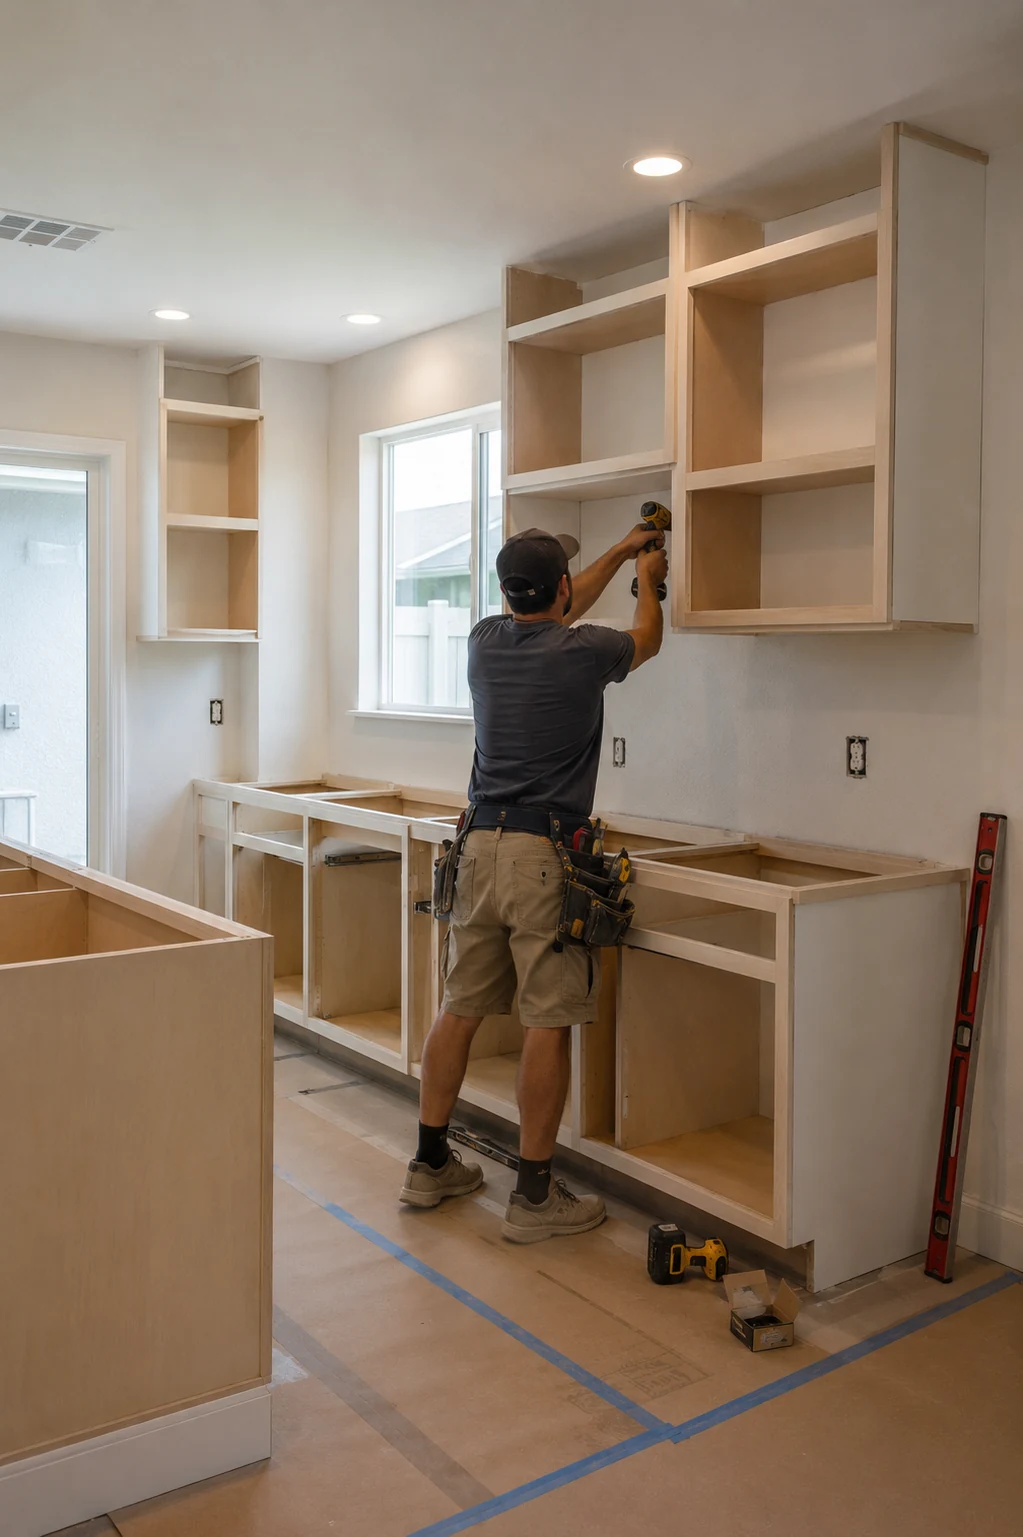
- Remove doors, drawers and hardware, and label them so each returns to its place.
- Degrease all surfaces with a cleaner designed to cut kitchen grease, and rinse.
- Degloss or sand the existing finish so the primer has something to grip. Degreasing comes first, so sanding does not grind grease into the surface.
- Repair dents, gouges and chips with a suitable filler, then sand smooth.
- Clean off dust thoroughly before priming.
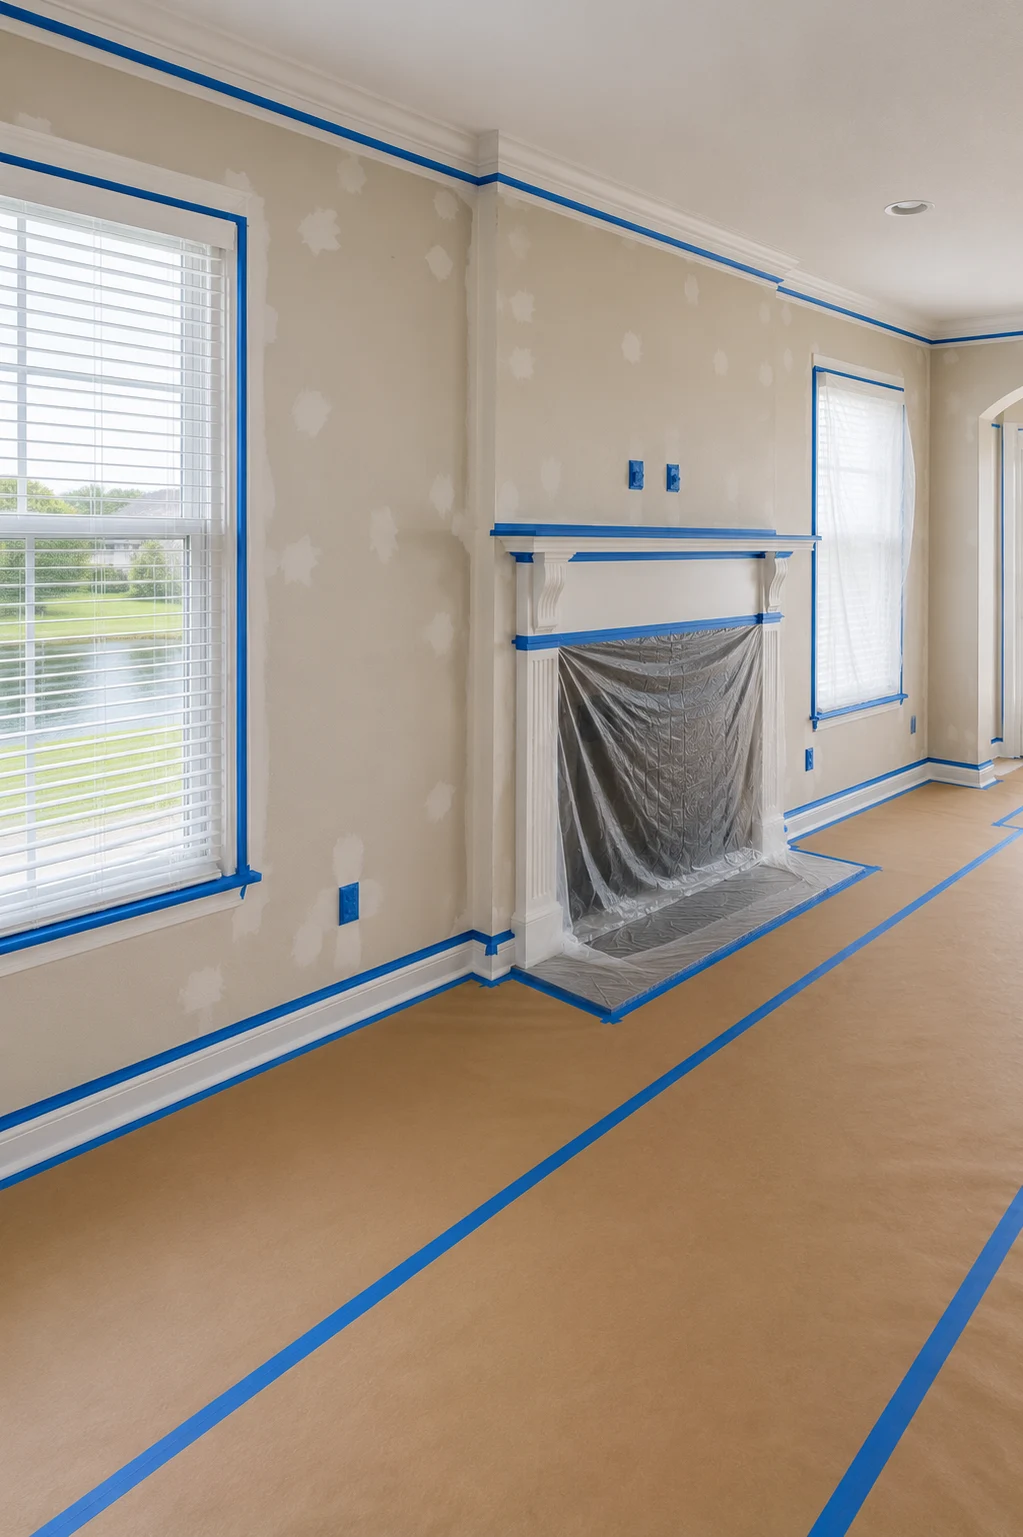
- Mask walls, counters, appliances and floors in the kitchen where boxes are painted in place.
In homes built before 1978, cabinets and trim may have older finishes containing lead. Sanding or scraping painted surfaces in those homes falls under federal lead-safe rules for contractors, and testing first clarifies which surfaces are affected, as explained in the guide to lead paint in older homes.
Spray vs Brush and Roll Finish
Spraying produces the smoothest, most factory-like finish, without brush marks or roller texture. Doors and drawer fronts are often sprayed in a controlled area, while boxes are sprayed or brushed in place with careful masking. Spraying needs equipment, masking and ventilation, and experience to avoid runs.
Brush and roll application can produce a good result with self-leveling cabinet enamels and fine rollers, but some texture or brush lines usually remain. It suits small projects and touch-ups, and it avoids the overspray and masking of spraying inside a kitchen.
Many professional jobs combine the two: doors and drawer fronts sprayed off site or in a separate area, and face frames finished in place.
Primer and Topcoat Systems That Hold Up
Cabinet paint is a system: a primer that bonds to the existing finish and a topcoat hard enough to handle daily use.
Bonding primers are formulated to adhere to glossy or difficult surfaces. Some are rated specifically for kitchen cabinets, laminates and varnished woodwork. Manufacturers set their own requirements; one widely used bonding primer, for example, must be topcoated within a set number of days and applied only when surfaces are above the dew point. Stain-blocking primers are used where knots, tannins or stains might bleed through.
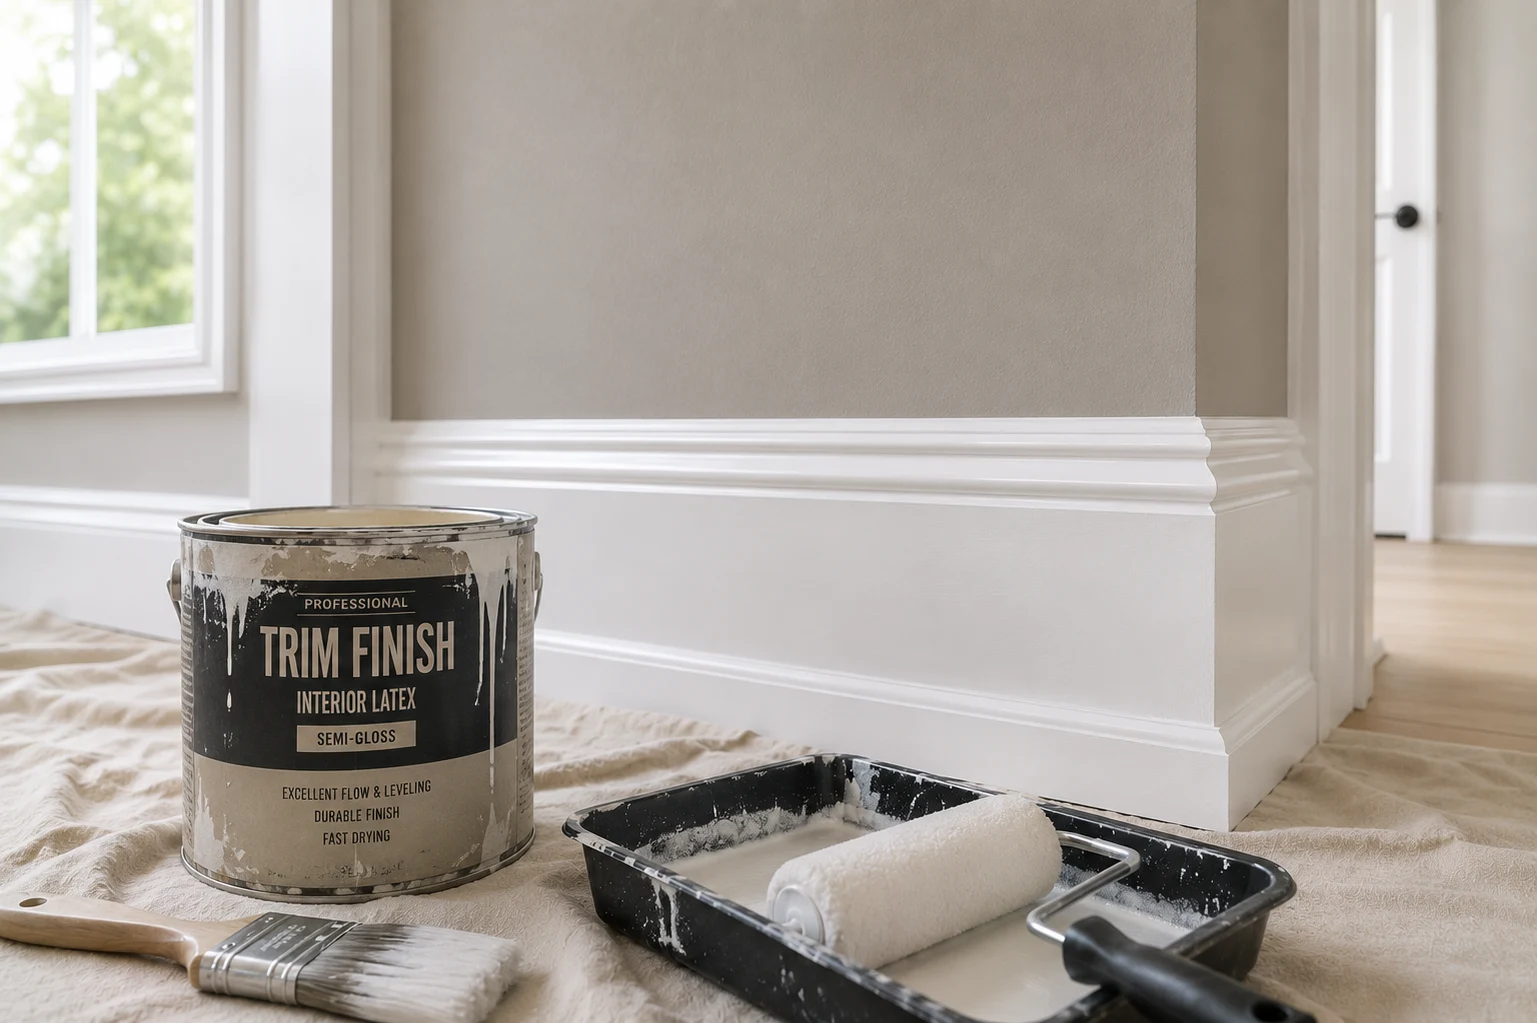
Topcoats for cabinets are usually enamels designed for trim and cabinets: waterborne alkyds, urethane-modified acrylics and similar products that level out, dry to a hard film and resist blocking, the tendency of painted surfaces to stick together when doors close. They are available in satin and semi-gloss, and in some lines in higher gloss. Wall paint is not a substitute; it stays softer and marks more easily.
The choice of sheen affects both appearance and cleaning, with the same trade-offs as on walls, which is why picking a sheen for each surface applies to cabinet doors too.
Cure Time vs Dry Time
Paint that is dry to the touch is not finished hardening. Cabinet enamels go through stages:
- Dry to the touch: the surface can be touched lightly without marking, often within hours.
- Recoat time: when the next coat can go on, which for some enamels is many hours.
- Return to use: when doors can be rehung and used gently.
- Full cure: when the film reaches its final hardness and durability.
One widely used cabinet and trim enamel lists a recoat time of 16 hours, asks that shelves and similar surfaces not be put back into service for at least 5 to 7 days, and notes that it can take up to 30 days to reach optimum hardness. During that period, the finish scratches and dents more easily, and doors closing against frames can stick. Gentle use, felt bumpers and patience during the first weeks make a real difference to how the finish holds up.
Humidity Effects on Finish
Humidity and temperature affect every stage of drying and curing. Manufacturers note that high humidity and cooler temperatures prolong dry, recoat and cure times. In Florida, that means kitchens with the windows open or doors being sprayed in a humid garage can take noticeably longer than the label’s standard conditions.
Running the air conditioning to keep indoor humidity moderate, spraying doors in a conditioned space where possible, and not rushing recoats all help. Painting in high humidity without allowing extra time is a common cause of soft finishes, poor leveling and doors that stick.
What the Process Looks Like Day to Day
A typical cabinet painting project follows a predictable rhythm. On the first day, doors, drawer fronts and hardware come off and are labeled, and the kitchen is masked. Degreasing, deglossing, repairs and sanding follow. Primer goes on boxes and doors, then the finish coats, with recoat intervals between each. Doors are usually finished flat, in a spray area or shop, while boxes and face frames are finished in place. Once the doors have dried enough to handle, they are rehung and the hardware is reinstalled.
The overall duration depends on the number of doors, the products’ recoat times, the weather and whether grain filling is involved. The kitchen is usable in a limited way throughout, and the most important part of the schedule comes after the crew leaves, when the finish continues to harden.
Caring for Painted Cabinets
During the first weeks, treat the finish gently: avoid scrubbing, avoid leaving wet towels over doors, and close doors softly so they do not stick to the frames. After the finish has cured, clean with a soft cloth and mild soap and water, and dry spills promptly, especially around the sink and dishwasher. Avoid abrasive pads and harsh solvent cleaners. Felt or silicone bumpers on doors reduce wear where doors meet frames. Keeping a small amount of the original paint, labeled with the product and color, makes future touch-ups much easier.
What Painting Cannot Fix
Paint changes color and surface. It does not change what is underneath:
- Swollen or damaged particleboard, especially under sinks and near dishwashers.
- Loose joints, sagging shelves or damaged drawer boxes.
- Worn or broken hinges and slides, which need replacing regardless.
- Outdated door styles: a flat slab stays a flat slab, and raised panels stay raised panels.
- Layout problems, such as too little storage, awkward corners or a poor work triangle.
- Peeling thermofoil or laminate that has lost adhesion.
When several of these apply, painting is spending money on the wrong layer. Planning a new layout and cabinet line belongs to a kitchen remodel, where boxes, doors and function are all on the table.
Thermofoil and Laminate Doors
Thermofoil doors are made of MDF wrapped in a vinyl film. Heat and steam from ovens, toasters and dishwashers can weaken the adhesive, causing the film to bubble and peel. Painting over peeling thermofoil fails, because the paint is only as secure as the film under it. Opinions among painters differ about painting intact thermofoil, with some using specialized bonding primers and others considering it a short-term fix; replacing the doors is often the more reliable choice.
Laminate and melamine surfaces can sometimes be painted with bonding primers rated for them, but the bond is less forgiving than on wood, and edges chip more easily. Testing adhesion on a hidden area first is sensible.
Oak Grain Filling
Oak has open grain that shows clearly through paint as a pattern of small pits. Some owners like that texture; others want a smooth finish. Painters commonly reduce it with a grain filler, or with several coats of a high-build primer sanded between coats, before the topcoat. It adds time and cost, so whether to fill the grain is a decision to make at the start, ideally by looking at sample doors.
Hinge and Hardware Changes
Painting is a natural moment to update hardware. New pulls and knobs change the look almost as much as paint. If new hardware has different hole spacing, old holes need filling and sanding before painting, and new holes drilled with a template. Hinges are often replaced at the same time, sometimes with concealed or soft-close hinges, which may require the doors to be drilled for new hinge cups. These decisions come before the doors are primed.
Cost vs Refacing vs Replacement
Angi’s 2026 cost data puts professional kitchen cabinet painting at roughly $30 to $70 per linear foot of cabinets, or about $2,000 to $6,500 for a typical kitchen. The size of the kitchen, the number of doors and drawers, preparation needs, grain filling, spray setup and hardware changes all move the price. Those are national ranges; the number of doors and drawers, the condition of the existing finish and whether doors are sprayed off site put a specific kitchen above or below them.
Refacing, which replaces doors and drawer fronts and covers the boxes with new veneer, generally costs more than painting and less than replacement, and it changes door style as well as color. Replacing cabinets is the largest investment and the only one that changes the layout. Where cabinets fit in a full kitchen budget is covered in the guide to kitchen remodeling costs.
Cabinet painting, with doors removed, degreased, primed and finished with a cabinet enamel, is part of interior painting work, and it can be scheduled so the kitchen stays usable while doors are finished elsewhere.
Share this article