The short answer
Subfloor preparation brings a concrete slab within the flatness, cleanliness and moisture limits the new floor requires. It can include removing the old floor and adhesive, grinding high spots, filling low areas or pouring self-leveling underlayment, treating cracks and testing moisture. Most flooring failures that are not about the product itself trace back to this step.
Flatness matters more than level. Vinyl plank manufacturers commonly allow about 3/16 inch of variation in 10 feet, while large-format tile needs a flatter surface. Preparation is usually priced separately from installation; HomeGuide's national data puts self-leveling underlayment at roughly $2 to $5 per square foot and tile removal at roughly $2 to $7.
Key takeaways
- Flat means no humps or dips over a short distance; level means horizontal. Floors need flat; level is rarely required.
- Each flooring type and manufacturer has its own flatness tolerance, and large tiles are the most demanding.
- High spots are ground down with dust-controlled equipment; low spots are filled with patch or self-leveling underlayment.
- Old black adhesive and some older vinyl can contain asbestos. It is tested before any sanding, grinding or scraping.
- Preparation is best priced as its own line, based on measurements, not as a fixed allowance.
Why Flat Matters More Than Level
A floor can be level and still unsuitable for flooring, or slightly out of level and entirely suitable. Level means horizontal, measured with a spirit level or laser. Flat means the surface has no humps or dips over a short distance, measured with a straightedge. A slab can slope gently across a room and still be flat, and a level slab can have a dip in the middle.
New floors care mainly about flatness. A dip under a floating vinyl floor lets the planks flex each time someone steps on them, which stresses the locking joints. A hump makes planks rock. Under tile, dips and humps show up as edges that sit higher than their neighbors, uneven grout and hollow spots where the tile is not fully supported.
Level matters in specific cases: a floor that visibly slopes, doors that swing open on their own, or cabinets and appliances that need a level base. Those situations are handled deliberately; most flooring projects only need a flat slab.
Flatness Tolerances by Flooring Type
Each flooring type and each manufacturer publishes a flatness tolerance. The numbers below are typical examples, not substitutes for the instructions of the specific product.
| Rigid-core vinyl plank | Standard tile | Large-format tile | |
|---|---|---|---|
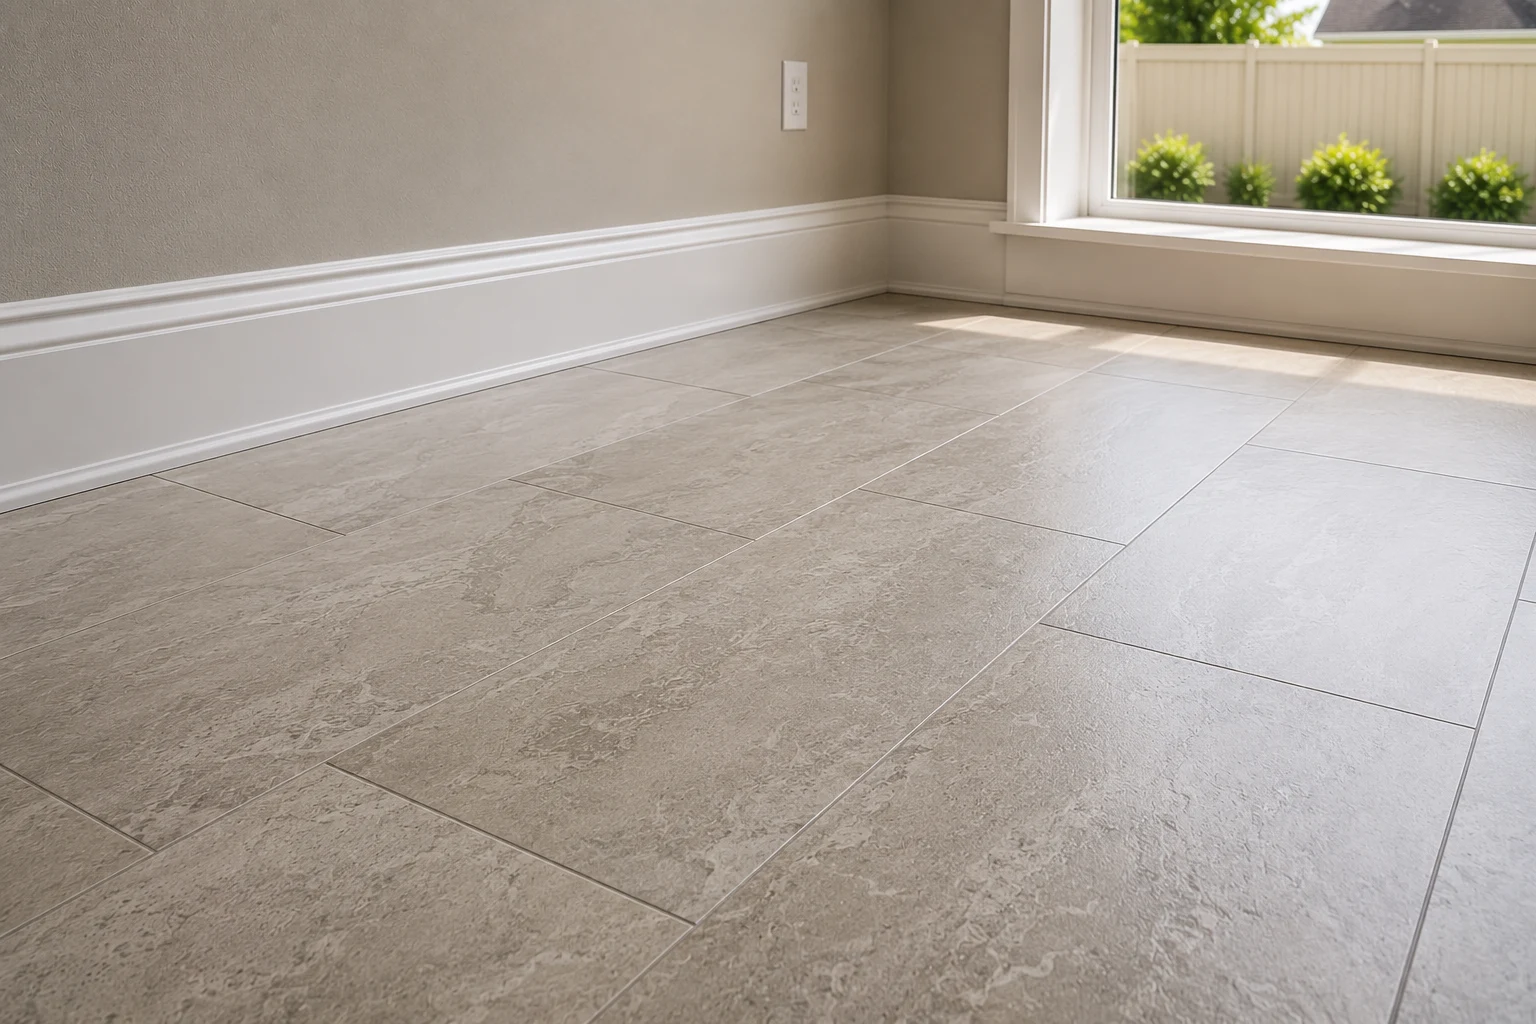
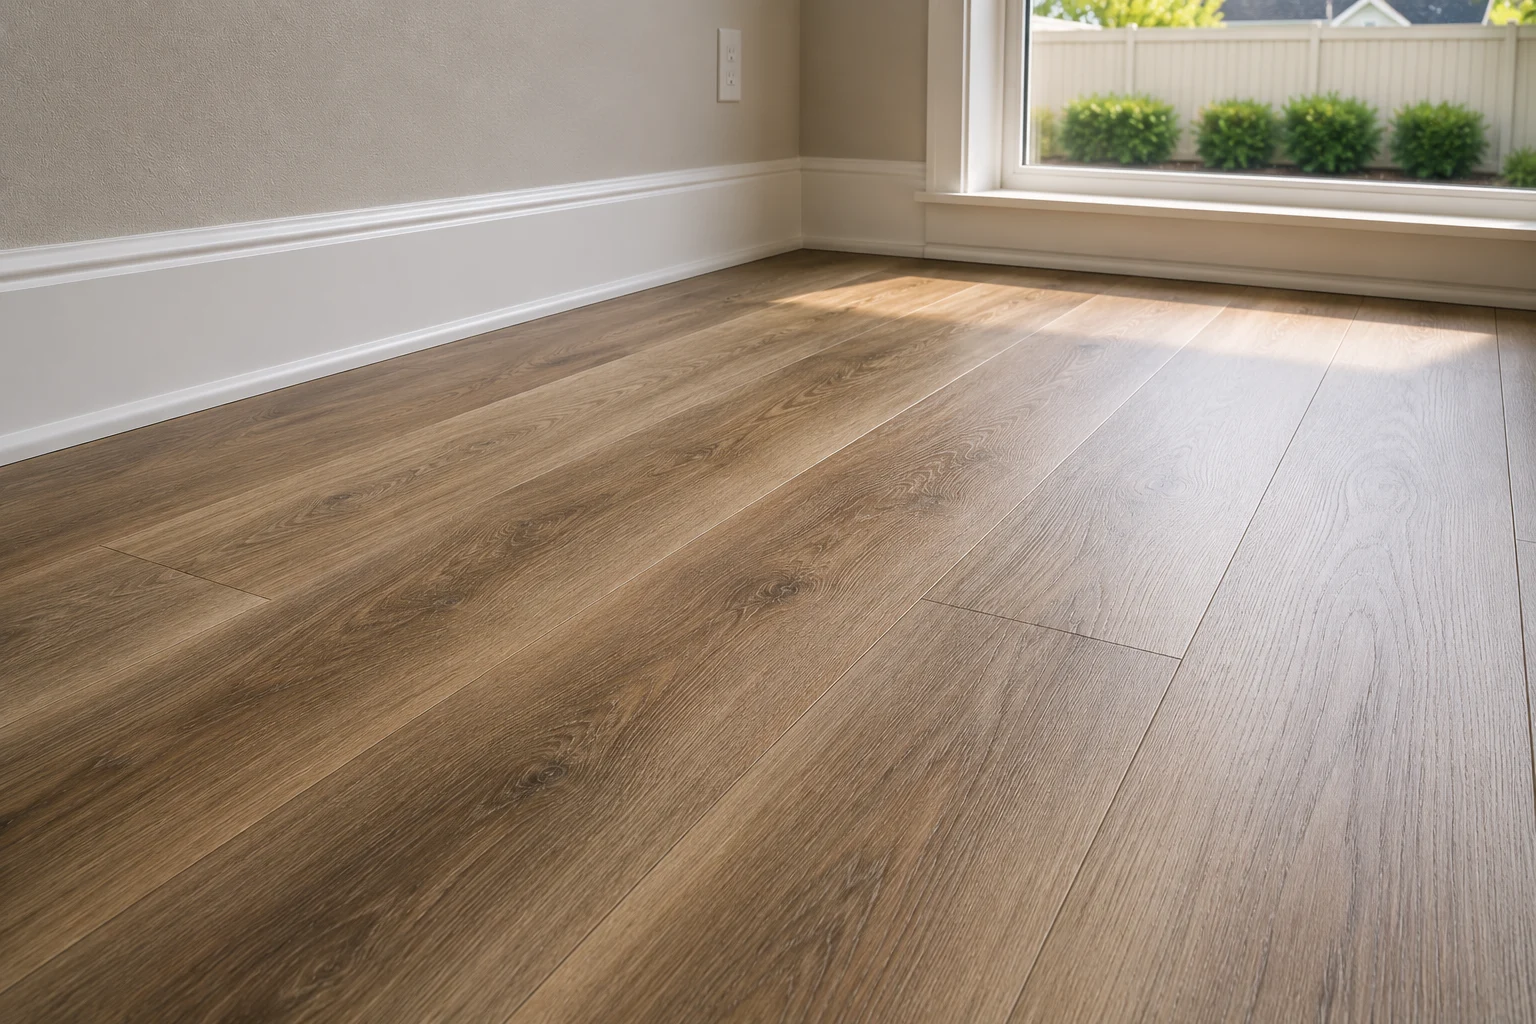
| Example tolerance | 3/16 in. in 10 ft or 1/8 in. in 6 ft | 1/4 in. in 10 ft and 1/16 in. in 12 in. | 1/8 in. in 10 ft and 1/16 in. in 24 in. |
| Where it comes from | Manufacturer instructions | Tile installation standard | Tile installation standard |
| Main risk if missed | Flexing joints, hollow sound | Uneven edges, cracked grout | Lippage, poor bond |
Vinyl plank is the most forgiving of the three. Large-format tile, generally any tile with a side of 15 inches or more, is the least forgiving, because a long tile spans more of any dip or hump. Engineered wood and laminate manufacturers set tolerances of their own, often similar to vinyl.
Large Format Tile Requirements
Large tiles need more than a flat slab. The setting method uses a mortar made for large and heavy tile, full coverage under the tile, and often a leveling clip system that holds edges in plane while the mortar cures. Because many large tiles have a slight bow, rectangular tiles longer than 18 inches are normally staggered by no more than about a third of their length rather than laid at a half offset. The result is a floor where edges stay even under raking light from a sliding door.
Floating Floor Deflection
A floating floor rests on the slab without adhesive, so any gap underneath becomes a place where the floor bends. Over time, repeated bending can separate or break the locking joints, and the spot sounds hollow. Underlayment does not fix that; thicker foam can make it worse by allowing more movement. The fix is making the slab flat before the floor goes down.
What the Old Floor Leaves Behind
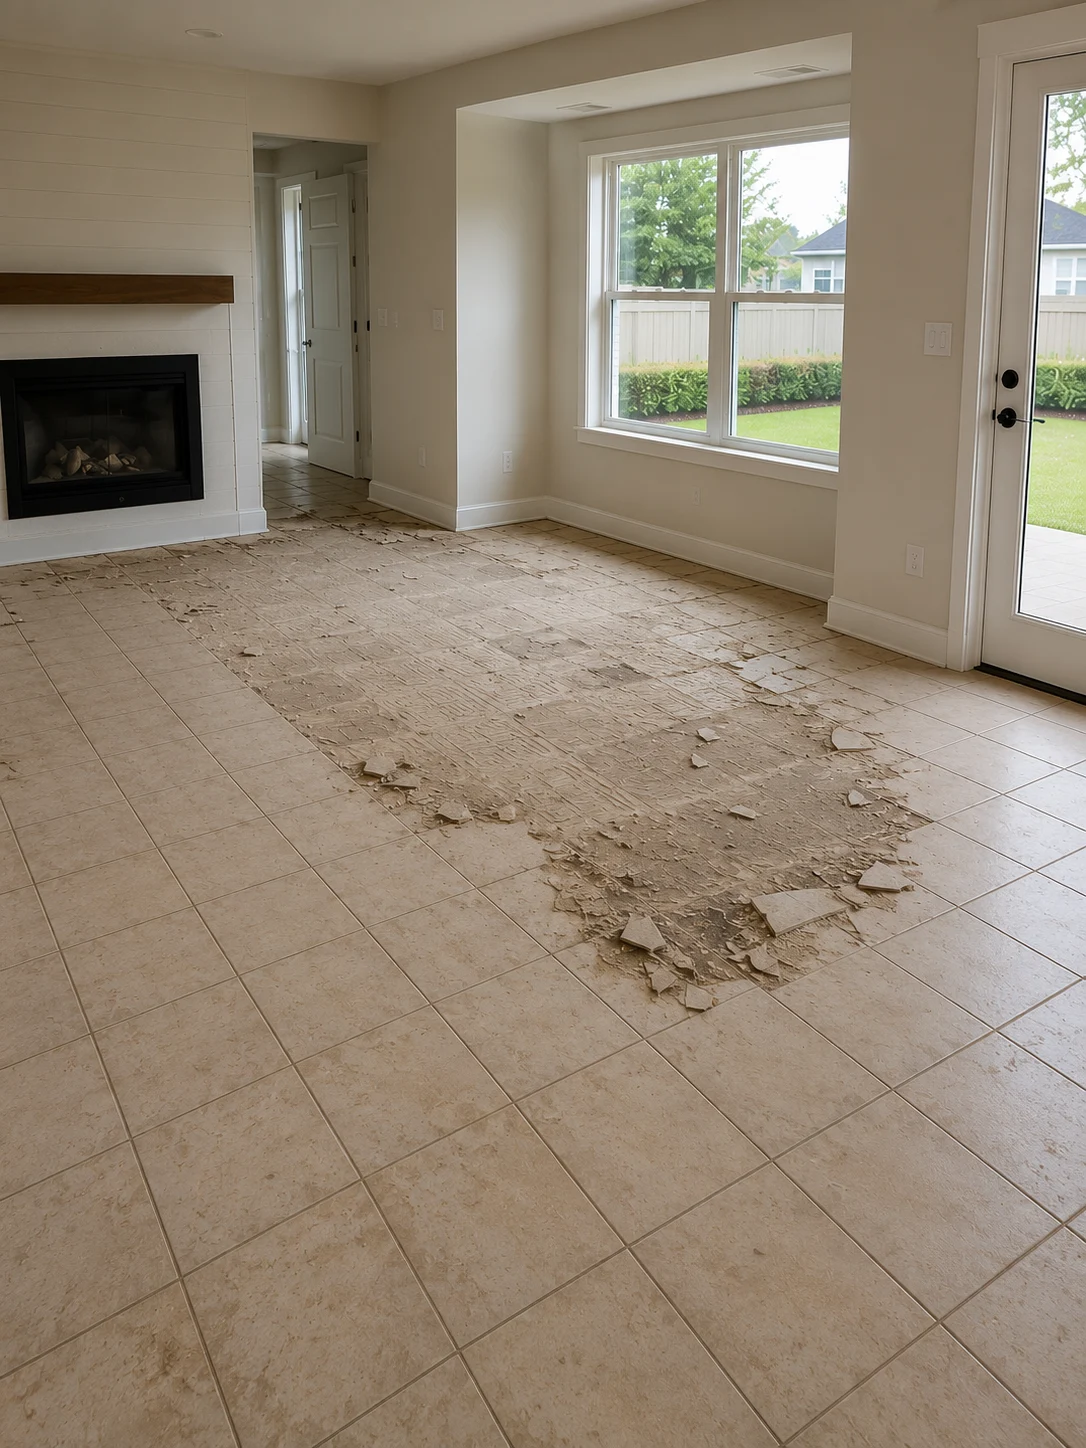
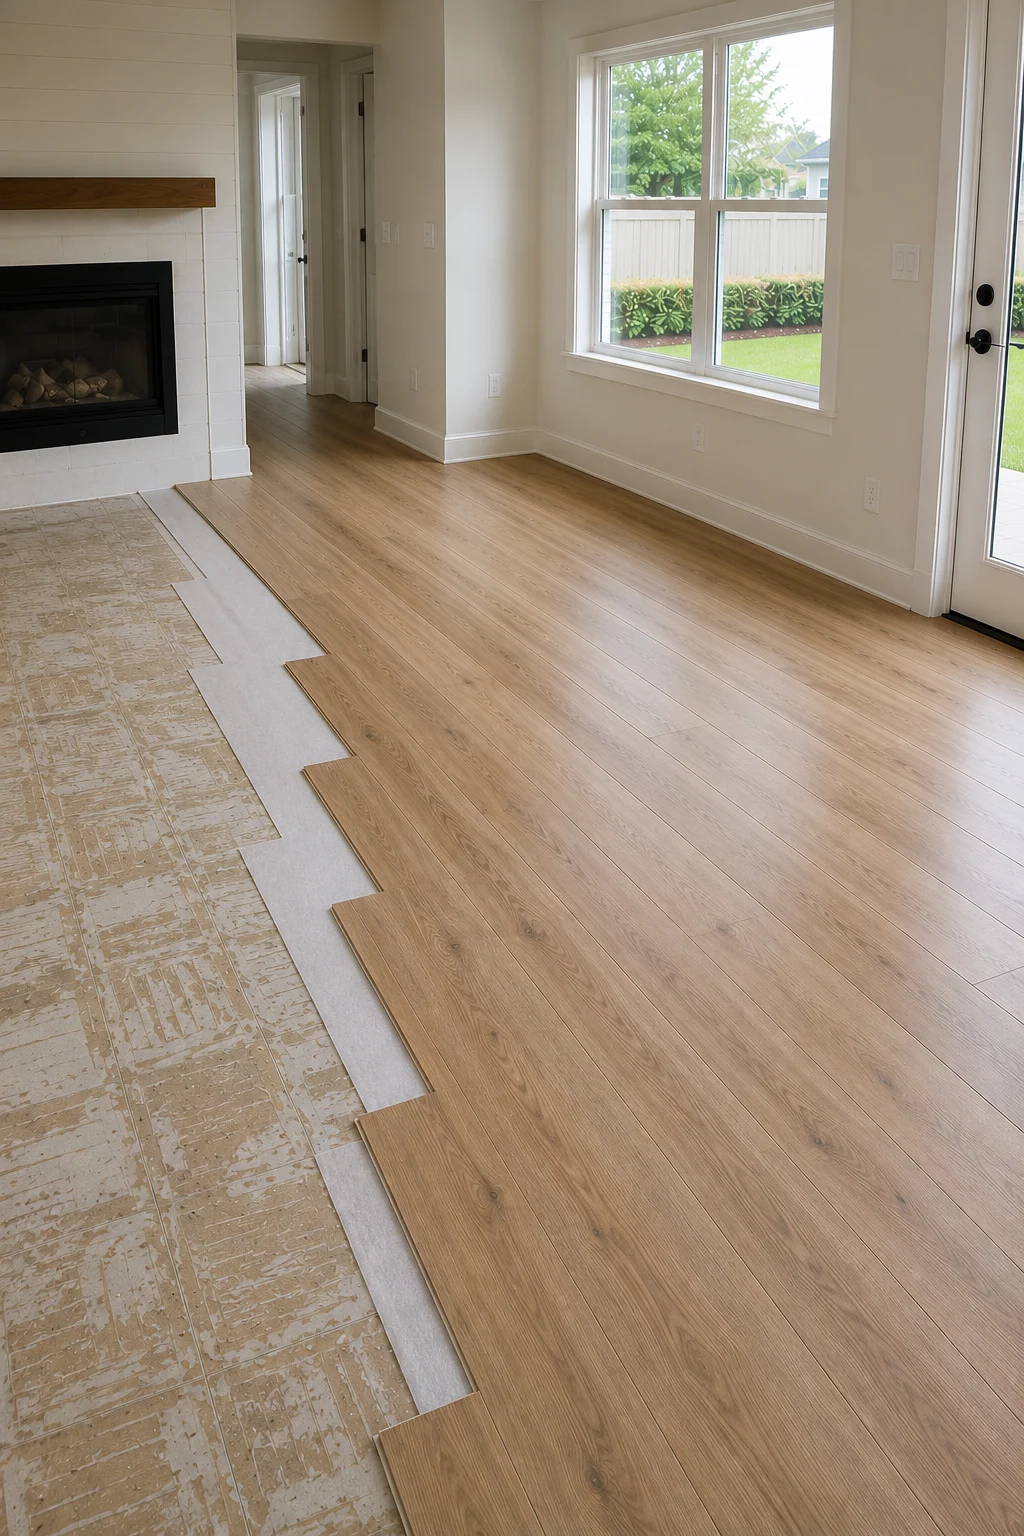
Every old floor leaves something on the slab. Carpet leaves tack strips nailed into the concrete, staple holes and sometimes pad adhesive. Ceramic tile leaves mortar ridges that must be ground flat. Glue-down vinyl and wood leave adhesive, and some older adhesives need testing before removal. Paint, sealers, curing compounds and oil stains can keep new adhesives, primers and self-levelers from bonding. And in some older homes, lifting the carpet reveals terrazzo, which may be worth restoring rather than covering.
What stays and what goes depends on the new floor. A floating floor can often go over thin, well-bonded residue once the slab is flat and clean. A glue-down floor, tile and self-leveling underlayment usually need sound, clean concrete, since they bond directly to it. The new product’s instructions list what the surface must be free of.
Preparation for Glue-Down vs Floating Floors
Glue-down floors are the more demanding of the two. The adhesive needs a clean, porous surface, within the moisture and pH range the adhesive allows, and any patch or underlayment beneath it must be compatible with that adhesive. Any bump or dip telegraphs through thin glue-down vinyl.
Floating floors tolerate more residue but are sensitive to flatness, because they bridge low spots rather than filling them. Their preparation focuses on grinding, patching and cleaning, and on the underlayment or vapor retarder the manufacturer requires.
Tile has its own demands: a clean surface the mortar can bond to, flatness suited to the tile size, and a plan for movement joints and cracks.
Self-Leveling Underlayment
Self-leveling underlayment is a cement-based product mixed with water and poured over the slab, where it flows to a flat, smooth surface. It is used to fill low areas, flatten a whole room or build up a floor to meet a neighboring surface.
The process follows the manufacturer’s system: the slab is cleaned, old adhesive and weak material are removed, cracks are treated, a primer is applied so the underlayment bonds and does not lose water into the concrete, and dams are placed at doorways and openings. The mix is poured and spread to the planned thickness, then left to cure before flooring.
Self-leveler is not a single product. Some are designed for thin skims, others for deeper fills, some for fast return to service. Each has minimum and maximum thicknesses, cure times before specific floor coverings, and requirements for the slab’s moisture. HomeGuide’s data puts self-leveling at roughly $2 to $5 per square foot. Those are national reference ranges; the slab’s condition across the whole room, which only shows once the old floor is up, sets the real preparation cost.
Grinding High Spots
Humps, ridges from old trowel marks and the lips of old patches are removed by grinding with a diamond grinder. Grinding concrete creates fine silica dust, which is a respiratory hazard, so professional equipment uses shrouds connected to HEPA vacuums, and crews wear respiratory protection as required. Dust control also keeps the rest of the house cleaner.
Grinding is often combined with filling: grind the highs, patch the lows, and the slab reaches tolerance with less underlayment than flooding the whole room.
Crack Isolation and Movement Joints
Almost every slab has some shrinkage cracks. Hairline cracks without height difference are common and usually harmless under floating floors. Under tile, even small cracks can transfer movement to the tile.
Crack isolation membranes, applied as liquids or sheets over the crack area or the whole floor, reduce the transfer of small in-plane movement to the tile. They do not handle cracks where one side has moved up or down, and they do not replace movement joints. The Tile Council of North America’s movement joint detail calls for joints at perimeters and at intervals in large fields of tile; it leaves the exact locations to the design professional, since they depend on the building. Cracks with height difference, active movement or widening over time may indicate a structural issue, which is assessed before any floor covers them.
Dust-Free Tile and Thinset Removal
Removing old tile means breaking tiles free, removing the mortar left on the slab and bringing the surface back to a flat, clean state. Traditional removal fills the house with dust. Dust-controlled removal uses tools connected to high-efficiency vacuums, containment with plastic sheeting and negative air machines, which greatly reduce dust. “Dust-free” in marketing usually means dust-controlled; some fine dust still escapes, so furniture, vents and doors are protected either way.
HomeGuide’s national data puts tile removal at roughly $2 to $7 per square foot, depending on the tile, the setting bed and how well it is bonded. Thick mortar beds and tile on older mud sets take longer.
Old Adhesive and Cutback
Older homes may have layers of vinyl tile, sheet vinyl or black adhesive under carpet or newer floors. Some older vinyl tiles, sheet flooring backing and adhesives, including black cutback adhesive, may contain asbestos. The EPA advises against sanding or trying to level asbestos flooring and notes that covering it with a new floor is often the safer choice when removal is not needed. Mohawk’s installation instructions also warn against mechanically chipping or pulverizing old cutback adhesive, point to the Resilient Floor Covering Institute’s recommended work practices and say to presume such materials contain asbestos unless testing shows otherwise.
The practical rule is simple: suspicious old flooring and black adhesive are tested by an accredited lab before any sanding, grinding, scraping or bead blasting. If asbestos is found, removal is done by a licensed abatement contractor, or the material is encapsulated under a new floor where the manufacturer allows it.
What Skipping Prep Looks Like Two Years Later
Poor preparation rarely shows on the day the floor is finished. It appears over months and years:
- Separated or peaked seams in vinyl plank where the floor flexes over dips.
- Clicking and hollow sounds under floating floors.
- Cracked tiles and grout over humps, dips or moving cracks.
- Uneven tile edges that catch socks and show under light from windows.
- Adhesive failure where old residue or dust kept new adhesive from bonding.
- Mold or odor where moisture was not tested before covering the slab.
Most of these mean removing part or all of the floor to fix the slab properly, which costs more than doing it before installation.
Sequence and Scheduling
Preparation follows an order, and cure times set the pace:
- Test moisture early, since the result may change the product or add mitigation.
- Remove the old floor and residue, with dust control and any required testing of old materials.
- Measure flatness once the slab is bare.
- Grind high spots and treat cracks.
- Patch or prime and pour self-leveling underlayment where needed.
- Let materials cure for the time the products require.
- Recheck flatness and cleanliness before installation.
In a whole house, preparation often runs room by room ahead of installation, so crews are not waiting on cure times. Knowing the sequence helps a household plan which rooms are out of use and for how long.
Prep Cost Expectations
Preparation is priced from what the slab actually needs, so two quotes for the same floor can differ widely. Useful questions when comparing quotes:
- Is removal of the old floor and adhesive included, and how will dust be controlled?
- Was flatness measured, and against which tolerance?
- How many square feet of grinding, patching or self-leveling are included?
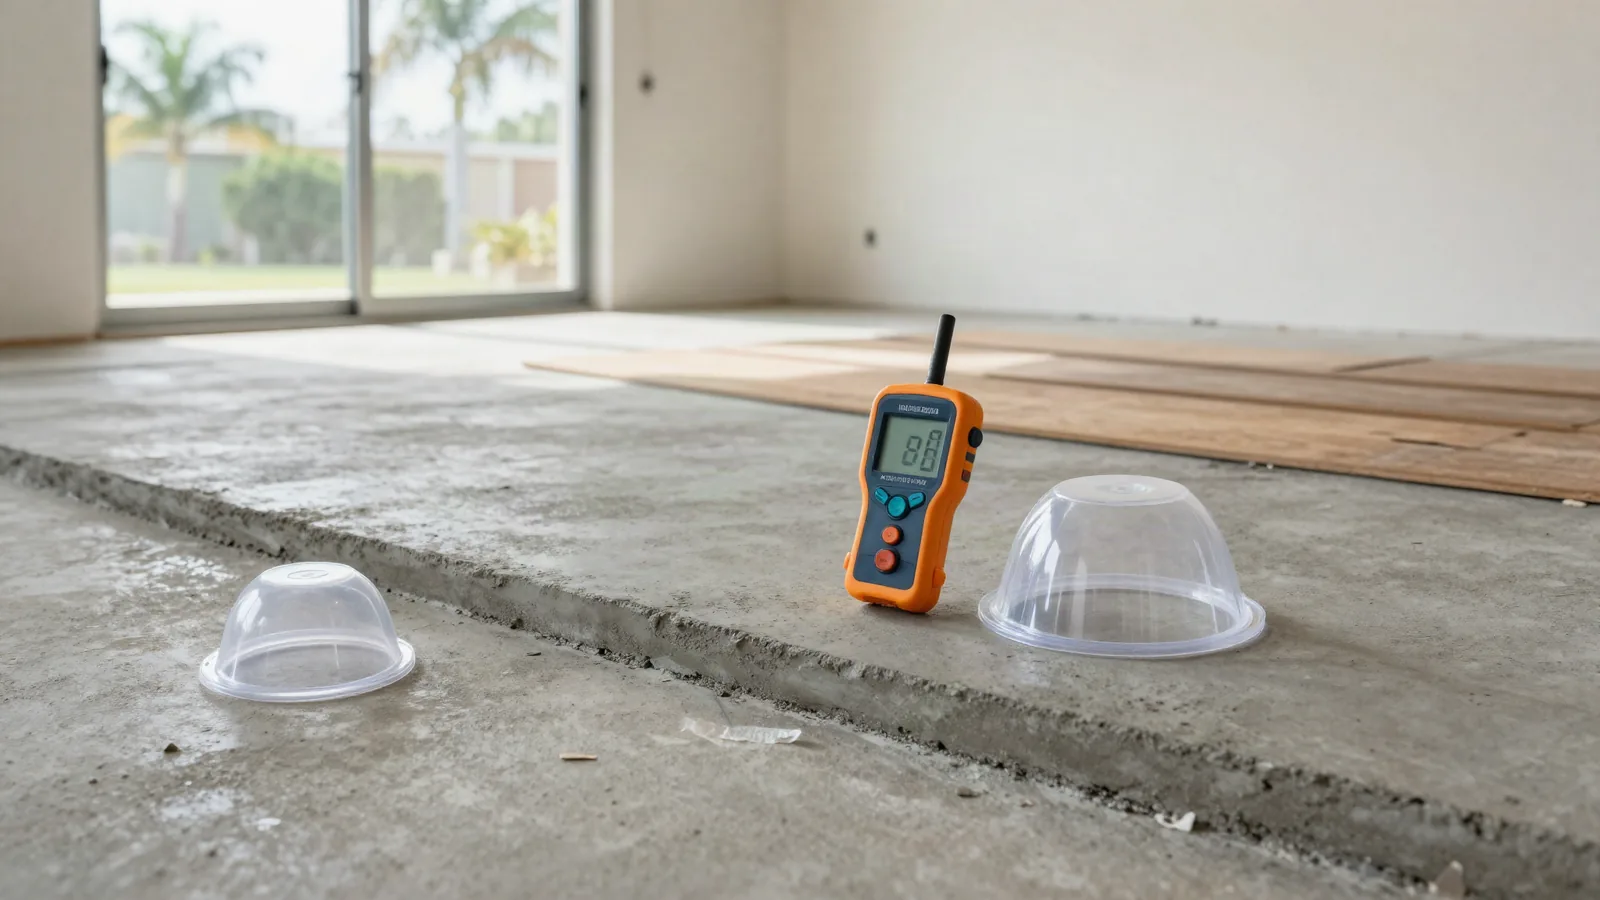
- Is moisture testing included, and which ASTM method will be used?
- What happens if more preparation is needed once the old floor is removed?
A quote with preparation as a separate, measured line is easier to compare and less likely to change mid-project. Moisture is part of the same evaluation, since mitigation and leveling are often planned together; slab moisture testing explains the tests and what the readings mean.
Tile needs the most preparation, and that difference is one of the real costs weighed in porcelain tile vs vinyl plank.
Preparation is part of every flooring installation over concrete, whether the slab needs a small patch or a full pour.
Share this article