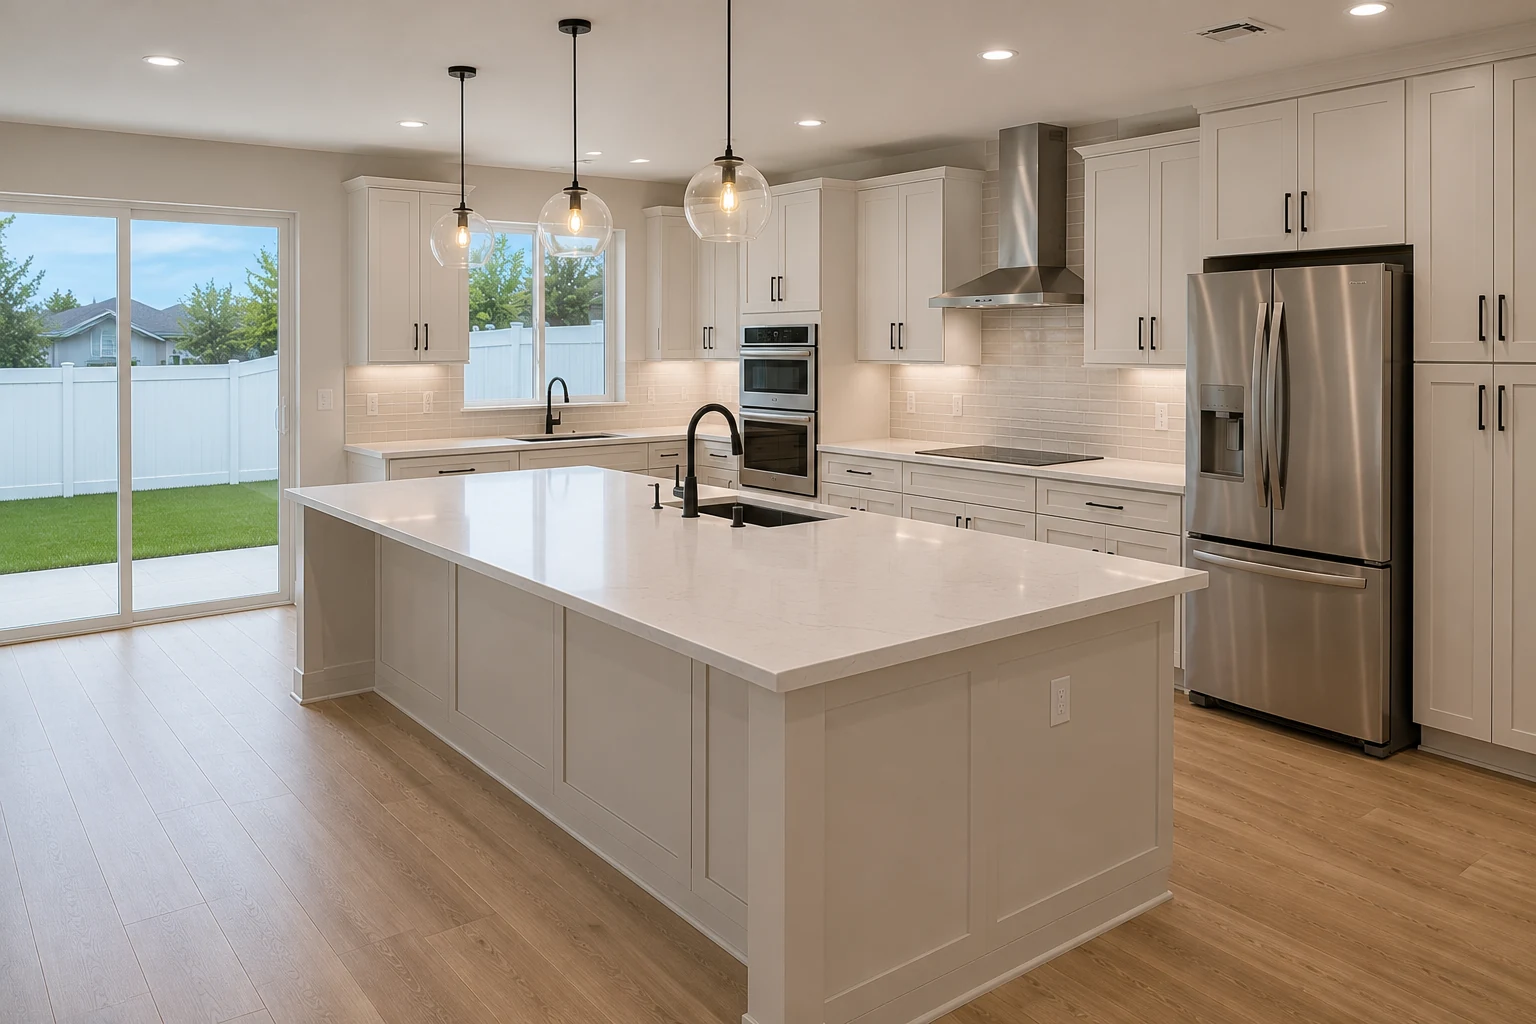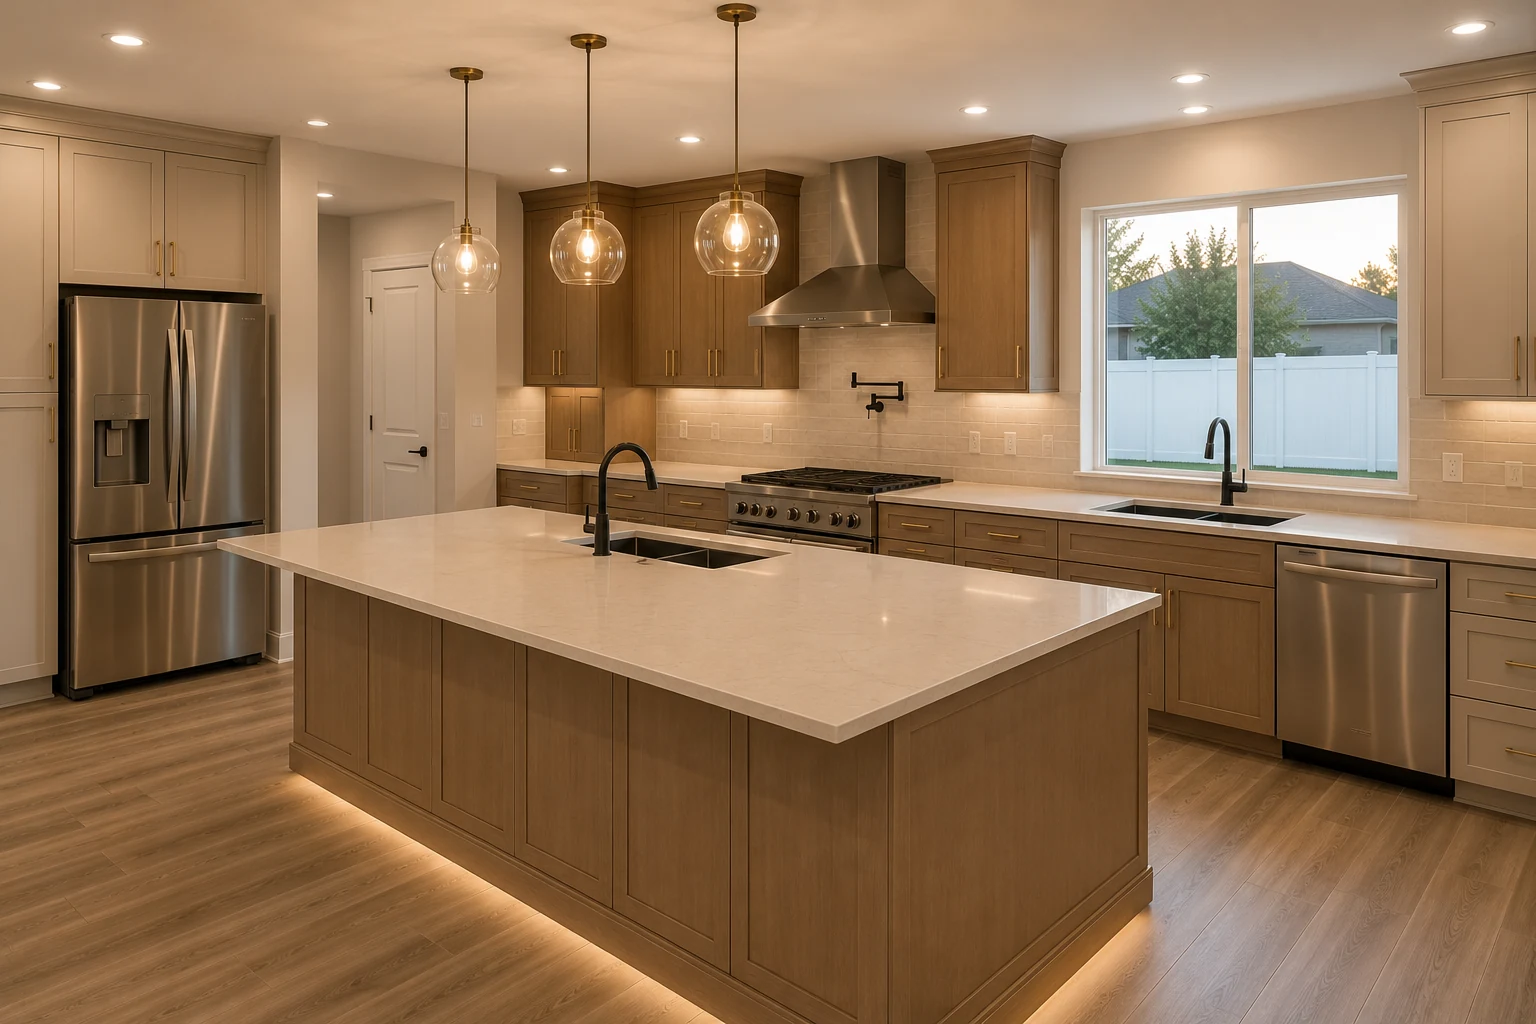
The short answer
National kitchen design guidelines call for work aisles of about 42 inches for one cook and 48 inches for two, and walkways of about 36 inches. Size the island from those clearances inward, not from the island outward. Allow roughly 24 inches of width per seat, with knee space that depends on counter height.
Islands need electrical outlets under the code Florida enforces, placed on or in the island in approved ways, and adding a sink or cooktop brings plumbing, venting and ventilation into the plan. Overhangs for seating need support that depends on the countertop material and its thickness. If the clearances do not fit, a peninsula or a table often works better than a cramped island.
Key takeaways
- Clearance comes first: about 42 inches of aisle for one cook, 48 for two, around 36 for a walkway.
- Each seat needs about 24 inches of width and knee space appropriate to the counter height.
- Stone overhangs need support beyond what the fabricator specifies for that material and thickness.
- Island outlets must be installed in approved locations and devices, and countertop receptacles need ground-fault protection.
- A sink or cooktop in the island brings plumbing through the slab or an island hood into the budget.
Minimum Clearances That Actually Work
An island succeeds or fails on the space around it. Too little, and cabinet doors, dishwasher doors and the refrigerator bump into people; too much, and the cook walks back and forth between the island and the counters.
The National Kitchen and Bath Association’s planning guidelines, widely used by designers, recommend:
- Work aisles of about 42 inches for one cook and 48 inches for multiple cooks, measured between the island and the facing counter or appliance.
- Walkways, where people pass but do not work, of about 36 inches.
- More space behind seating, so people can pass behind someone sitting at the island.
These are guidelines, not code, and small adjustments are sometimes made for tight rooms. But aisles much below them are where most island complaints begin.
36 vs 42 Inch Walkways
A 36-inch passage is enough to walk through, not to work in. When a dishwasher door is open, or two people are cooking, or someone opens the oven, 36 inches is tight. That is why the work side of an island, where the sink, range or dishwasher faces it, generally gets the wider 42 or 48 inches, while a side that only serves traffic can be narrower. When the island has seating on one side and the path to a patio door runs behind it, the seating side needs room for both the chairs and people walking behind them.
Sizing the Island to Your Room
Start with the room and work inward:
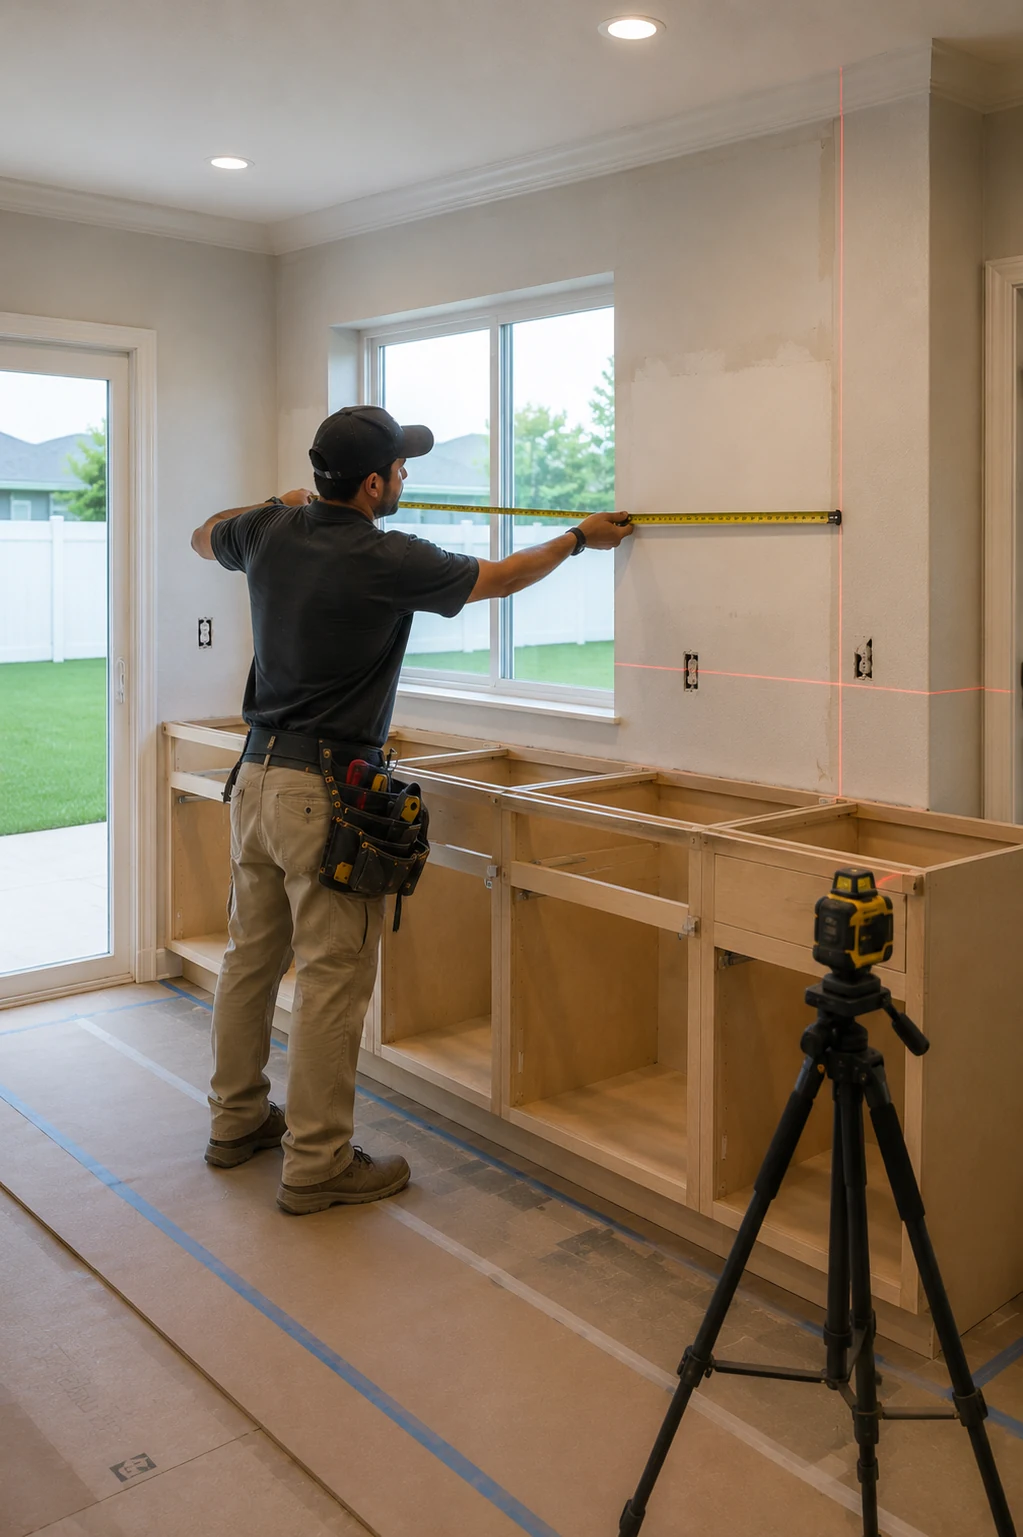
- Measure the distance between the counters or walls where the island would sit.
- Subtract the aisle needed on each side.
- What remains is the maximum island depth; do the same for length.
Islands commonly range from about 2 feet deep for a small prep island to 4 feet or more for islands with seating on one side and cabinets on the other. Length depends on the room and on how the island interacts with doorways, the refrigerator and the path through the kitchen. Very long islands may need a seam in the countertop, depending on the slab size available.
Whether a kitchen should have an island at all, compared with a peninsula or no island, is covered in the guide to kitchen layout. Once the answer is yes, the numbers above decide how big it can be.
Seating: Counter vs Bar Height
Island seating comes at two common heights:
- Counter height, around 36 inches, the same as the working surface. It keeps the island one continuous level, suits counter stools and makes the whole top usable for prep.
- Bar height, around 42 inches, often a raised section. It separates seating from work and hides prep mess from the living area, but divides the surface.
Table-height seating, around 30 inches, sometimes appears as a lowered section at the end of an island, which suits children and anyone who prefers a chair.
Plan roughly 24 inches of width per person. Knee space depth depends on height: design guidelines suggest more knee space at table height than at counter height, and less at bar height, since people sit more upright on taller stools.
Waterfall Edges and Overhangs
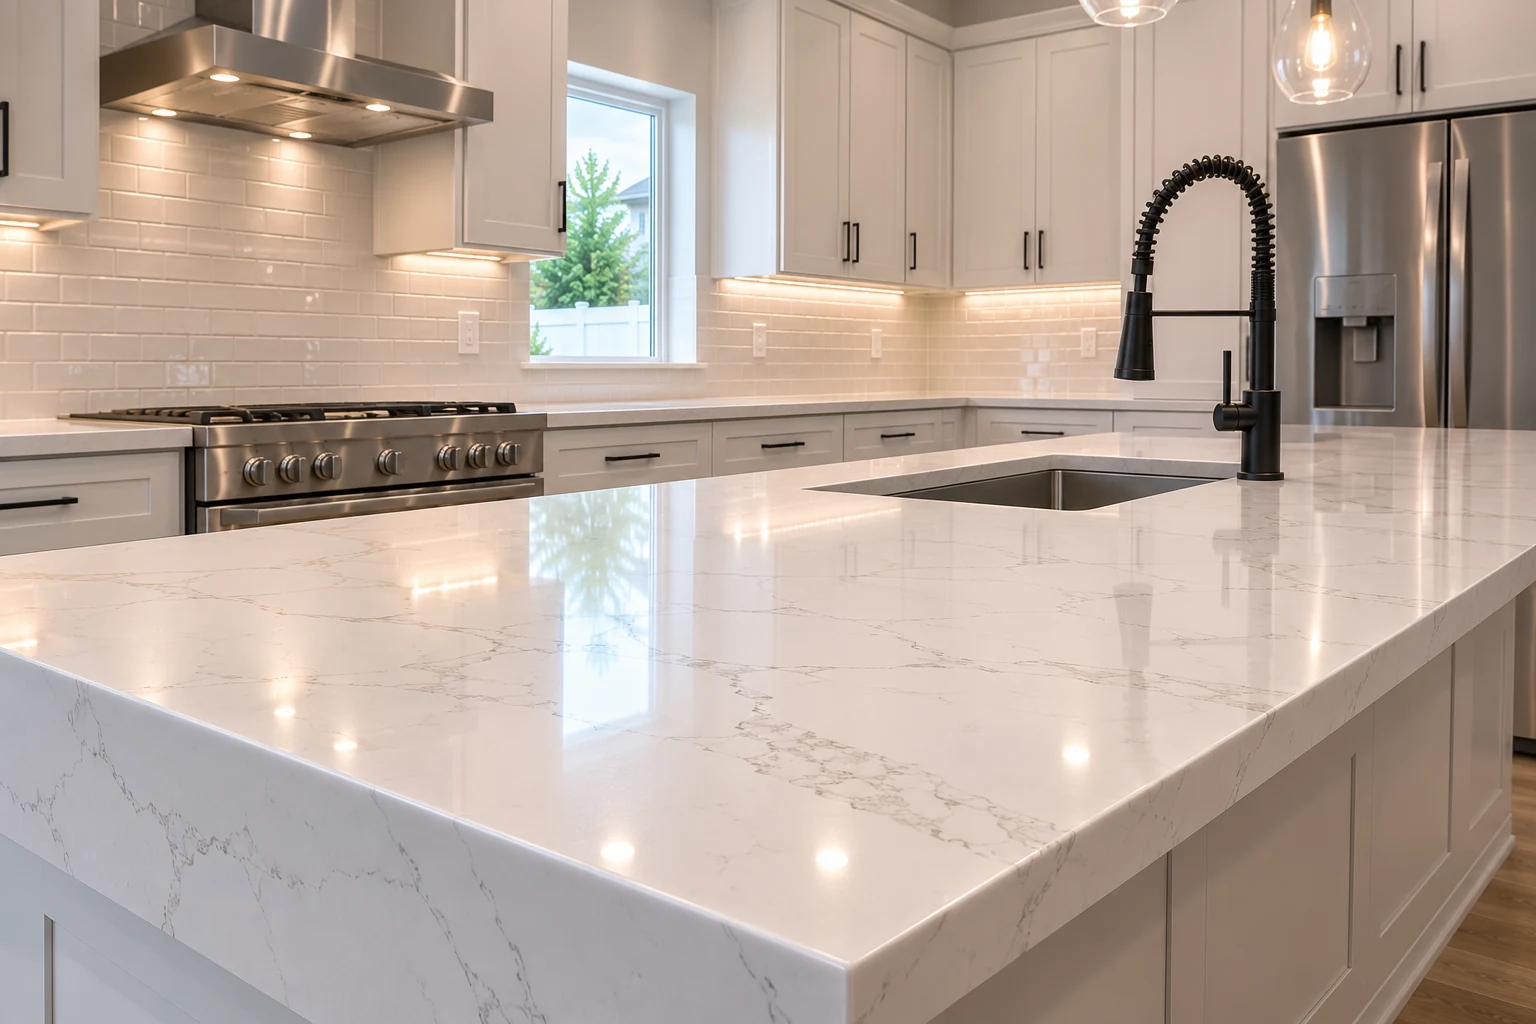
Waterfall edges carry the countertop down the side of the island to the floor. They create a clean, furniture-like look and protect the cabinet end panels. They use more material, need careful fabrication so the pattern flows around the corner, and show chips at the bottom edge if bumped by vacuums or chairs.
Overhangs create the seating knee space. The countertop extends past the cabinets, and how far it can go unsupported depends on the material, its thickness and the fabricator’s guidelines.
Overhang Support Brackets
Natural stone, quartz and porcelain can crack if an overhang is too long for their thickness or is loaded by someone leaning on the edge. Fabricators specify when support is required, typically with steel brackets or plates hidden under the top, corbels, or legs and end panels. Hidden steel supports need to be planned before the countertop is templated, since they are installed on the cabinets first. How much each material can safely cantilever differs, and the differences between quartz, stone and porcelain include how they handle overhangs and edges.
Electrical Code for Island Outlets
Islands are part of the kitchen’s countertop, so the electrical code applies. The electrical code edition Florida enforces today, the NEC 2020, requires receptacle outlets for island and peninsula countertops based on their size, requires kitchen countertop receptacles to be ground-fault protected, and allows them only in approved locations, such as on the side of the island cabinets within set distances below the countertop, or in devices listed for installation in countertops. Newer editions of the code have changed how islands are handled, which matters for work permitted after Florida adopts them.
Powering an island means extending or adding circuits, done by a licensed electrician with a permit, and the wiring typically reaches the island through the floor. In slab-on-grade homes, that means a conduit path through or under the slab, planned before the flooring and island are set.
Pop-Up and Side-Mount Outlets
Side-mounted outlets on the island’s end or back panels are the most common solution. They are easy to reach and do not interrupt the countertop, though their placement should avoid seating knees and cabinet doors.
Pop-up or countertop-mounted receptacles retract into the countertop when not in use. They keep the island’s sides clean, but must be listed for countertop installation, require cutting the countertop, and need to be installed and sealed so spills do not reach them. Where they can go, and whether they satisfy the requirement, is a question for the electrician and the building department.
Adding a Sink or Cooktop
An island sink makes the island the center of prep and cleanup and often suits open kitchens where the cook faces the living area. It brings plumbing: a drain line through the slab in most Central Florida homes, a water supply, and a venting solution, since an island has no wall for a traditional vent. A dishwasher next to the sink adds its connections and circuit. This is licensed plumbing work, and cutting a slab calls for care where post-tensioned slabs may be present.
An island cooktop moves the cooking zone into the room. It needs ventilation, either an island hood hanging from the ceiling or a downdraft system, each with its own duct route to the outdoors. Hoods over islands need more capacity than wall hoods because air moves in from all sides; how that is sized is covered in the guide to range hood ventilation. Island cooktops also need clear space on either side and an overhang or seating well away from the burners.
Storage Inside the Island
An island is valuable storage. Common layouts include:
- Deep drawers for pots, pans and dishes on the working side.
- Trash and recycling pull-outs near the sink.
- Open shelving or bookcases on the ends.
- Microwave drawers, which need their own electrical planning.
- Cabinets on the seating side, shallow enough to leave knee space, for rarely used items.
Planning storage to match the island’s role, prep, cleanup, cooking or serving, makes it useful rather than just large. Pendants and task light over the island change how it is used in the evening, and layering kitchen lighting covers heights and spacing.
Islands, Children and Accessibility
Islands are where families gather, so a few details matter. Rounded or eased corners are kinder to children and hips than sharp stone corners. A lowered section at table height lets children and seated users work or eat comfortably. Clear knee space, stable stools with footrests and wider aisles on the seating side make the island usable for more people. For households planning to stay long term, keeping at least one aisle wide enough for a walker or wheelchair adds flexibility later.
Islands and Flooring
Whether the flooring runs under the island or stops at its base affects the order of work. Some flooring manufacturers, especially of floating vinyl plank, prohibit installing cabinets or other fixed objects on top of their floors, so the island sits on the slab and the floor is cut around it. Tile and glue-down floors can often go under the island. Deciding which applies before the island is installed avoids tearing out finished work, and it is one reason the island and the floor are planned together.
The gaps, trim and toe-kick details where a new floor meets cabinets are part of finishing a floor at its edges.
Island Materials and Finish Choices
An island often gets a different treatment from the perimeter: a contrasting cabinet color, stained wood against painted perimeter cabinets, or a different countertop that makes it read as furniture. Heavy-use islands benefit from durable surfaces, especially around a sink. If the island has seating, the countertop edge profile matters for comfort, and a slightly eased edge is more forgiving than a sharp one. Decorative end panels, legs or corbels can make an island look built-in rather than like a run of base cabinets.
When an Island Does Not Fit
If the clearances do not work, forcing an island in creates a worse kitchen. Alternatives include:
- A peninsula, attached to a wall or run of cabinets, which provides counter space and seating while needing aisle space on fewer sides.
- A narrow prep table or cart that can move.
- A dining table close to the kitchen, often more comfortable for eating than stools.
- Opening a wall to gain space, which involves structural and systems work, as described in what removing a kitchen wall involves.
Island planning is one of the first layout decisions in a kitchen remodel, because it fixes where plumbing, power, lighting and flooring go.
Share this article